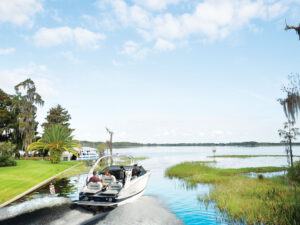
Installing Registration Numbers on an Inflatable Boat
Installing Registration Numbers on an Inflatable Boat
Installing Registration Numbers on an Inflatable Boat
Installing Registration Numbers on an Inflatable Boat
Installing Registration Numbers on an Inflatable Boat
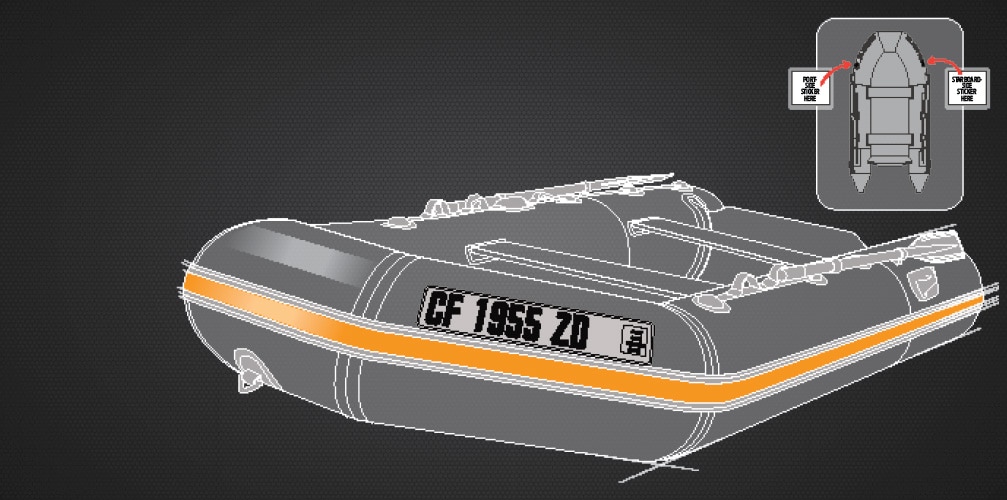
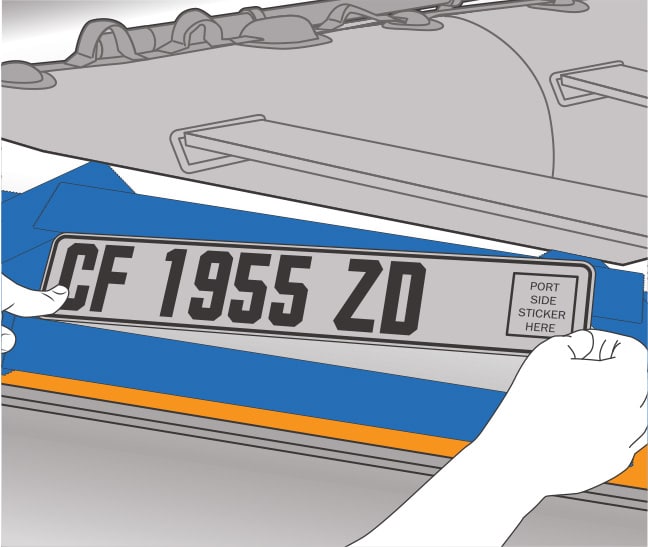
A quirk of inflatable boats is that peel-and-stick registration numbers don’t stick, at least not for long. Stenciled paint-on numbers work (with the right paint), but you still need a way to affix an annual sticker. Some use number plates (zip-tied in place), but many states consider these less than legal. We discovered a neat solution from BoatNumberPlate.com — custom flexible plates that you glue onto your inflatable. They work on both Hypalon and PVC. Each plate includes a special surface to secure an annual sticker. You order the plates online with your numbers and then pick them up at a participating retailer (which you specify on the website). Here’s how these install on a PVC hull.
Getting Started
Skill Level: 2/5
Time to Complete: 1.5 hours (plus 48 hours of cure time)
Tools and Supplies
*BoatNumberPlate.com glue-on registration plates ($39.99 per pair, boatnumberplate.com)
*Acetone or MEK
*Polymarine Ltd. Inflatable Boat Adhesive for PVC ($12.99, defender.com)
*Masking tape
*Medium-grit sandpaper
*Stiff-bristle brushes (4)
*Clean rags
*Disposable nitrile gloves (to protect your hands from solvent and adhesive)
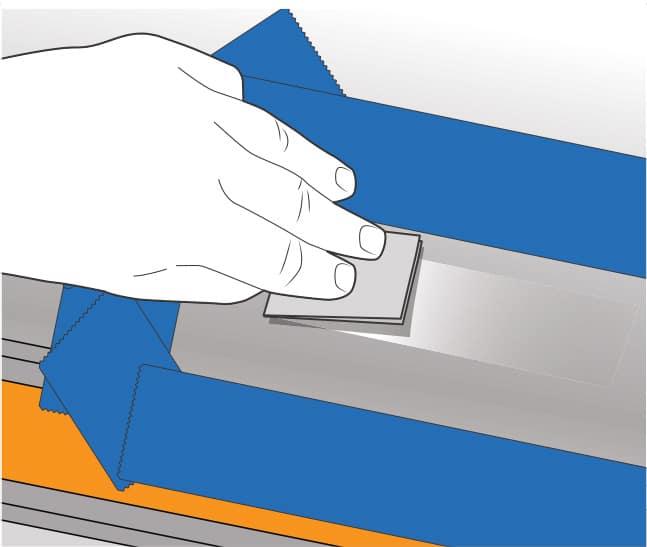
1. Mask Off and Sand the Area
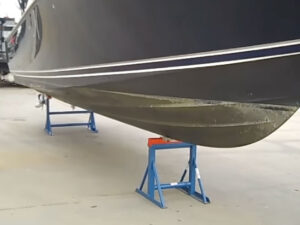
Inflate the hull and figure out where you want to install the plates on each side, taking into account any legal requirements for positioning the numbers. Then mask off an area to outline the plate position, and lightly scuff the surface with medium-grit sandpaper. Wipe away any grit or residue.
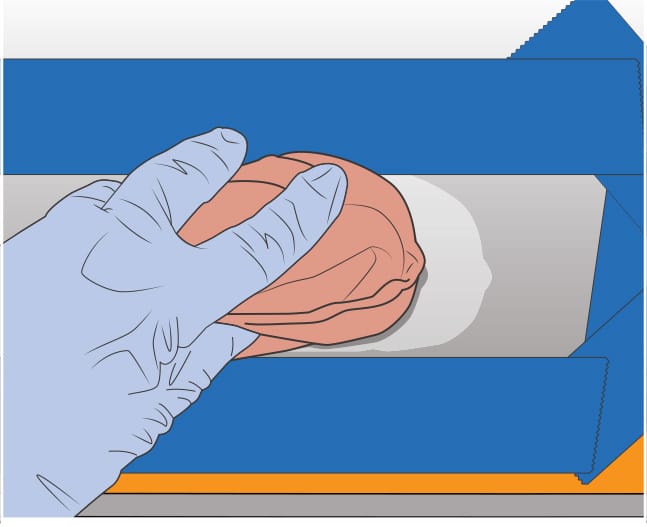
2. Clean the Hull and Plate
Use either acetone or MEK (methyl ethyl ketone) and a clean rag to scrub the area on the hull where the plate will be installed. Also scrub the back of the plate with either of these solvents. Then wait 10 minutes, and repeat the process. With acetone, which evaporates much faster than MEK, you’ll need to work in smaller areas and dampen the rag often.
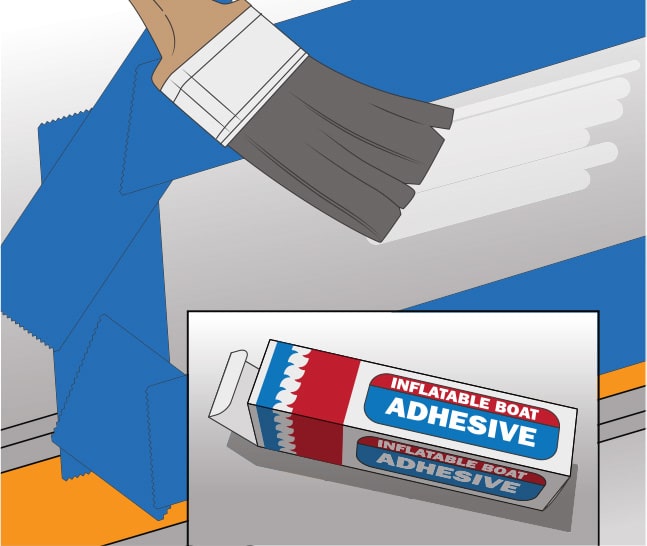
3. Apply the Adhesive
Install the starboard and port plates to the corresponding sides; the sticker is positioned aft of the numbers. Brush a thin layer of PVC adhesive to the boat area and back of the plate. Let dry for 10 minutes, and then apply a second thin coat to each area; let this dry for three to four minutes. It’s easier, though more time-consuming, if you install just one plate at a time.
4. Install the Plate
Start at one end of the plate and slowly, carefully lay it into position, using the outline you created with masking tape as a guide. The adhesive bonds almost instantly; no second chances here. Once it’s down, firmly rub the plate starting at the center, and work toward the edges to remove air bubbles. Peel off the masking tape, and let the plates cure for 48 hours.
Quick Tip: Buy four inexpensive stiff-bristle brushes to apply the adhesive, which dries so rapidly that the brush becomes useless after several minutes — so you’ll need a fresh brush each time you apply a coat of glue.
Adhesive Advice
BoatNumberPlate.com recommends using Polymarine Ltd. Inflatable Boat Adhesive for PVC, which we found at defender.com ($12.99/2.37-ounce tube). We bought two tubes, which were barely enough for the project, so we recommend you buy three tubes to avoid shorting yourself on this vital ingredient.