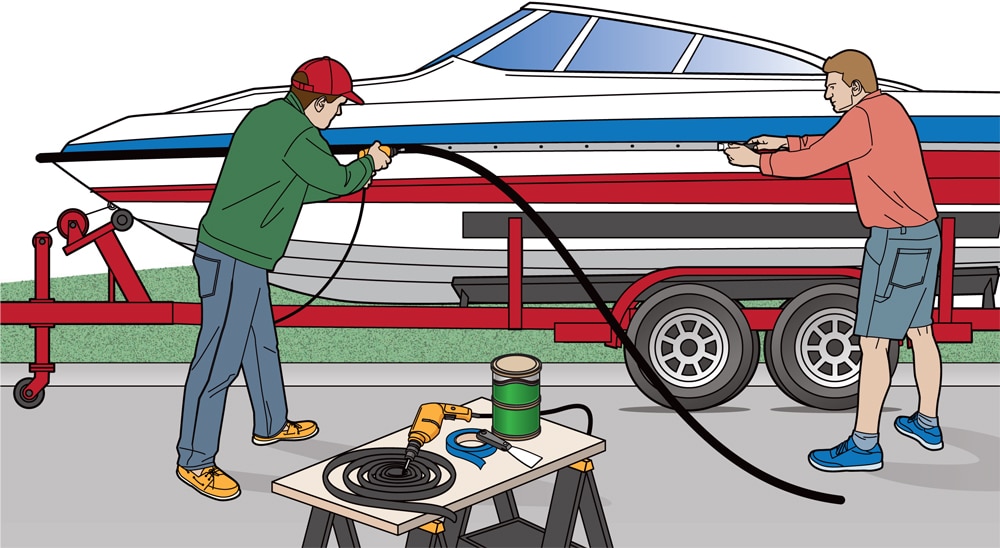
Rub rails cover a boat’s hull-to-deck joint. They are cosmetic in that they hide the seam and fasteners connecting these two parts. And though rub rails are no substitute for competent close-quarters handling or the proper use of fenders, they do provide protection against abrasion and mild bumps from pilings and bulkheads. So they get worn and eventually need to be replaced. Installing a rub rail is a perfect pre-launch project for spring. In fact, Taco Metals (tacomarine.com) offers complete kits as well as factory-matched rub rails, making the job easier for DIY boaters.
Rub rail materials run the gamut. In ascending order of durability and aesthetics there are: flexible vinyl, semirigid vinyl, rigid vinyl, stainless steel and aluminum. We’ll take you through installing a semirigid rub rail here, because it’s quite common and the steps involved are illustrative of installing other types.
Before you start, you need to remove the old rub rail. Remove the end caps, pull out the insert, remove the screws or drill out the rivets, and scrape off excess sealant. Then fill the old holes with an epoxy paste like Interlux Watertite epoxy filler ($28, jamestowndistributors.com). Grab a helper and let’s get started.
Getting Started
Skill Level: 3/5
Finish Time: 6 Hours
Tools and Supplies
*Rub rail kit
*Heat gun
*Scraper
*Masking tape
*Rags/paper towels
*Caulking gun
*Adhesive sealant
*Screws to suit
*Screwdriver
Measuring Your Boat
Because of the curves involved, you’ll need more rub rail than just double your boat’s overall length. Taco recommends adding your boat’s length to its beam and then doubling the sum to ensure you order enough rub rail to complete the job.
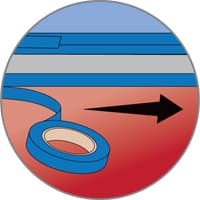
1. Tape It
Apply masking tape above and below the rub rail location to make a neater job of using sealant. Mark for fastener holes above or below the location of the rub rail every six inches around the entire boat, so you’ll be able to drill accurately while a helper holds the rail in place. A heat gun helps working with the coiled rail.
2. Set It
To ensure a “natural” location for the end caps, start at the middle of the transom or at a transom corner. Unroll a few feet of the coiled rub rail and bore holes through the rail and boat, countersinking the hole through the rail. Apply sealant to the back of the rail and the fastener threads, and install the fasteners.
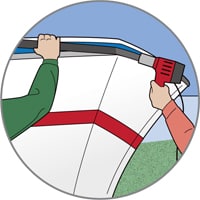
3. Heat It
Continue around the boat in the same fashion. At corners or the bow, wave the heat gun over the rail to soften it to take the bend. If you use up one coil of rub rail, leave the last foot loose and start with the new coil, leaving its first foot loose and overlapping the first coil by one-eighth of an inch.
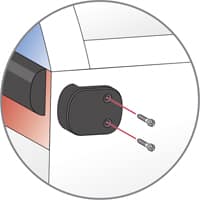
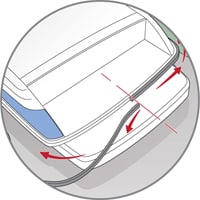
4. Screw It
When you reach the starting point at the transom or transom corner, go back and pull together the splices left dangling and install a screw one inch in on both sides of the joint. Trim excess at the transom clean and mated with the transom angle, using a hacksaw. Install the end caps (pictured).
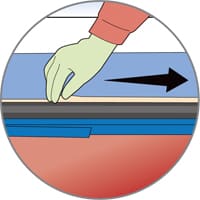
5. Seal It
With a gloved hand, use your finger to smooth squeezed-out sealant above and below the rub rail, cleaning your finger frequently. Pull the masking tape up and away from the upper edge, down and away from the lower edge.