Mechanics know that you need to use the right tool for the job, and professional offshore anglers know that when it comes to catching tuna and billfish, spreader bars are the right tools-if, that is, you know how to use them.
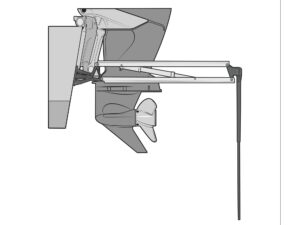
Elevate. Run spreader bars close enough to the boat or from a high enough position to keep them out of the water. This is the most common mistake people make–letting the bar drag through the water, which reduces the rig’s effectiveness. On most boats, short rigger positions are the best way to keep the bar up while allowing it to get back a few wakes.
Diversity. Make sure your hook bait is a standout color or shape. If, for example, the entire spreader is made up of 6″ pink squid, use an 8″ blue one for the hook bait. On green plastic squid bars, Green Machines can be killer.
Go Solo. Run a separate line about 10′ behind the spreader bar, slightly off to one side or the other. On this line, rig a bait that matches the “school” on the spreader bar. Often, this one will get hit before the bar itself does.
Get Naked. You see a marlin swatting at the bar? Quick-drop back a naked ballyhoo as you pull away the spreader. Marlin often attack a spreader several times without getting a hook, eventually figuring out something’s wrong. If they do get hooked on the spreader, they often dive and don’t put on the aerial antics we love. So get that ‘hoo back there, fast.
Splash Away. Splash bars (those with birds built onto the bar) are a different animal entirely and shouldn’t be confused with spreader bars. Run splashers when you want to create a commotion farther behind the boat, and let the bar ride in the water. These rigs have more resistance, and can be run directly from your rod tips.


