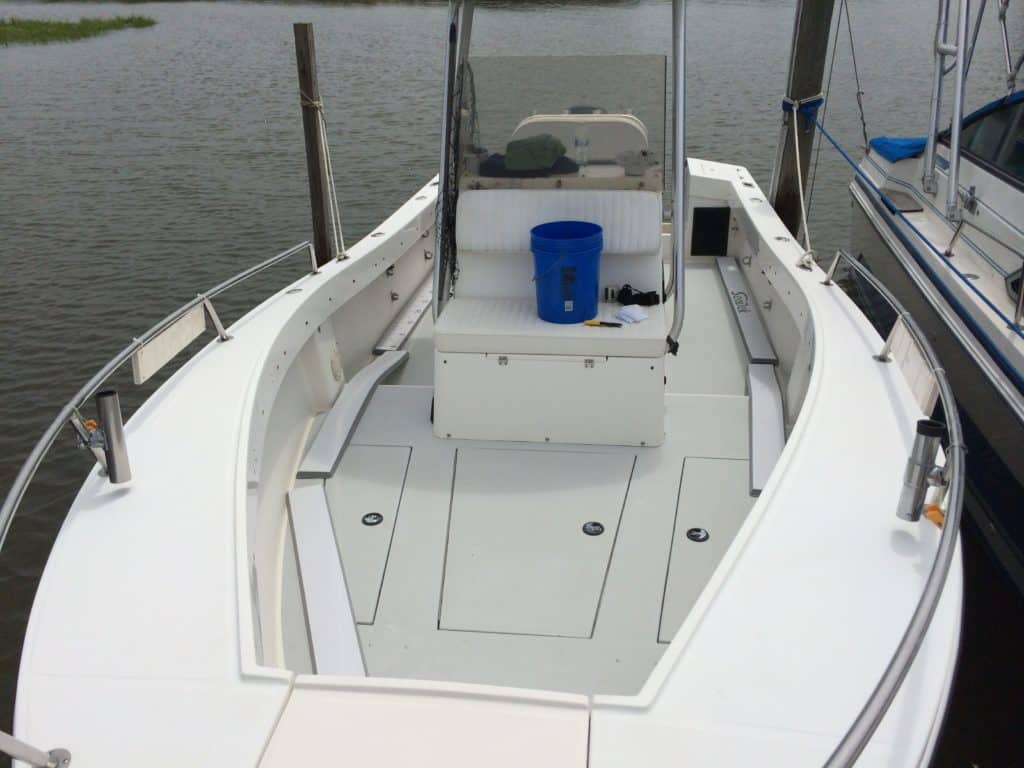
My Regulator 23 needed new coaming bolsters. The old bolsters were upholstered pads in the classic tufted style. Uncounted fish, saltwater, and primarily the rays of the sun, finally turned then into cracked and decrepit eyesores. Estimated cost for pro replacement –using my existing backers as patterns–ran to around $1,200 for top quality work, using the best materials by a respected pro in the marine cushion and canvas business with whom I have a personal relationship. I was prepared to pay that, when SeaDek introed self-adhesive coaming pads for DIY installation. These are made out of tough, EVA foam, instead of upholstered foam. I am initially quite pleased with the looks and performance of the pads. I will review them in detail after having lived with them for a season.
SeaDek offers both stock and custom pads. I ordered custom pads, choosing my specific lengths, widths and a two-tone color combination. Installation steps are the same in any case. Here are the steps needed to install SeaDek coaming bolster pads.
1. Full-length pads, six-inches wide, for my 23-foot boat arrived via UPS in a box I could easily carry under one arm down to the boat.

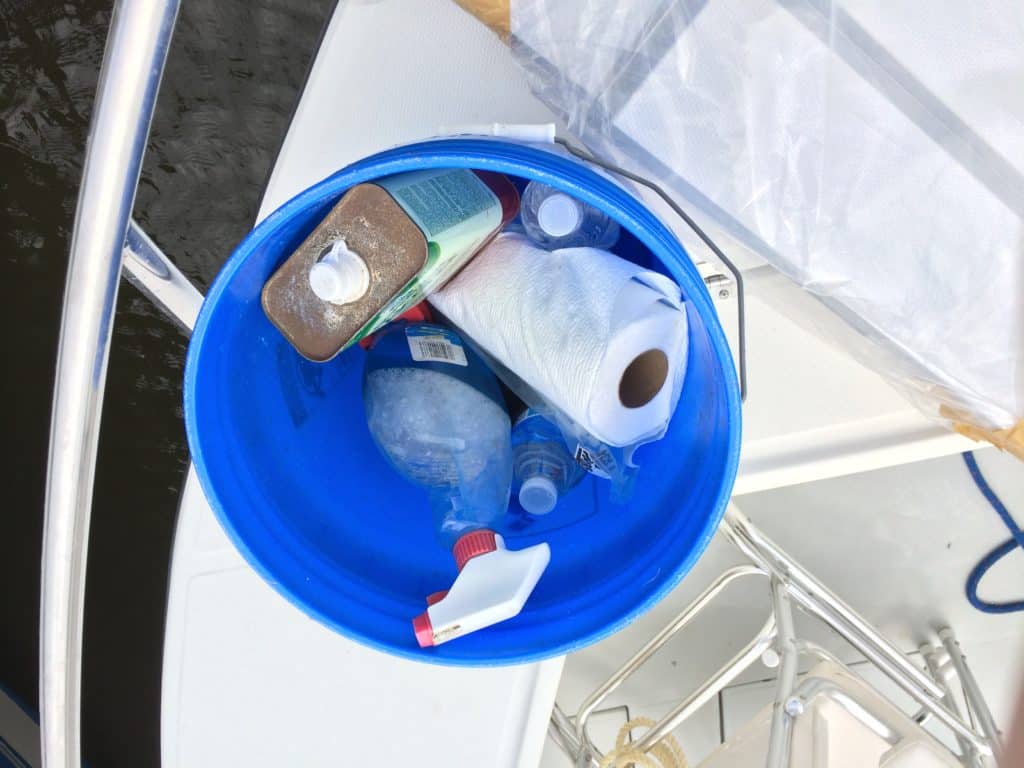
2. WIth my free hand, I carried all the supplies and tools needed for installation in just one bucket. (OK, I needed a helper and HE didn’t fit in there!)
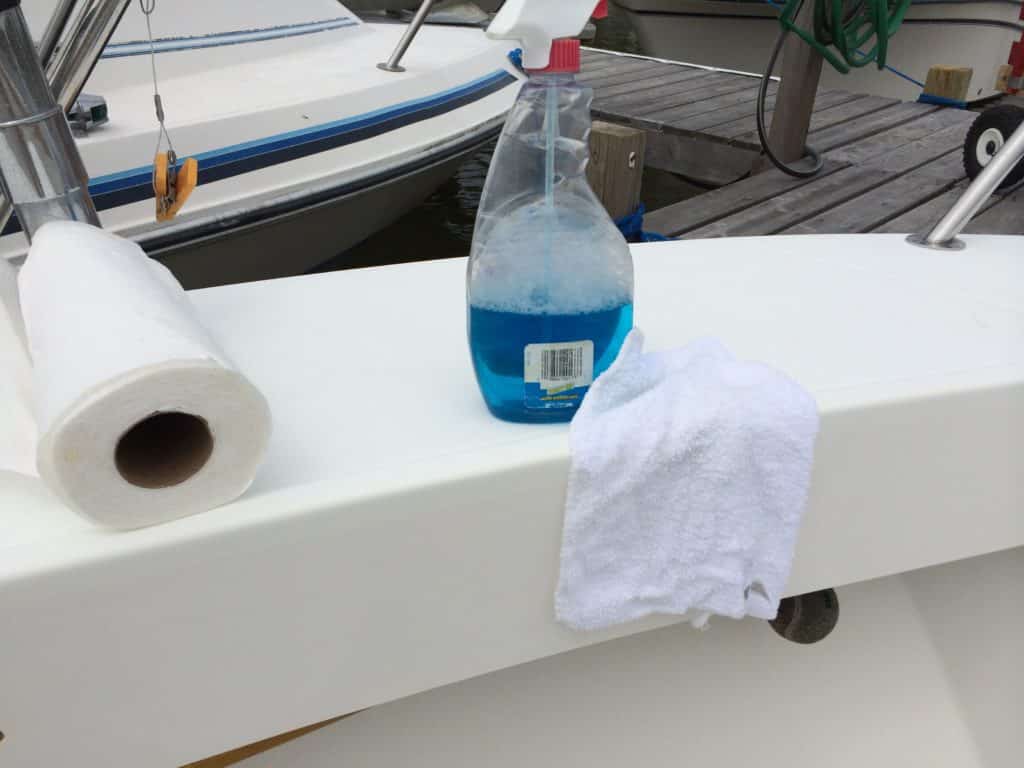
3. The first actual step is to clean and degrease the surface. I used abrasive cleaner and a Scotchbrite pad. Then I applied solvent ( alcohol) wiping it on with one rag and wiping off with another so as not to just spread any grease or wax. Follow this with window cleaner. ( The holes in the coaming are fastener holes for the original, conventional pads. The SeaDek bolsters covered them and did not “telegraph” them through)
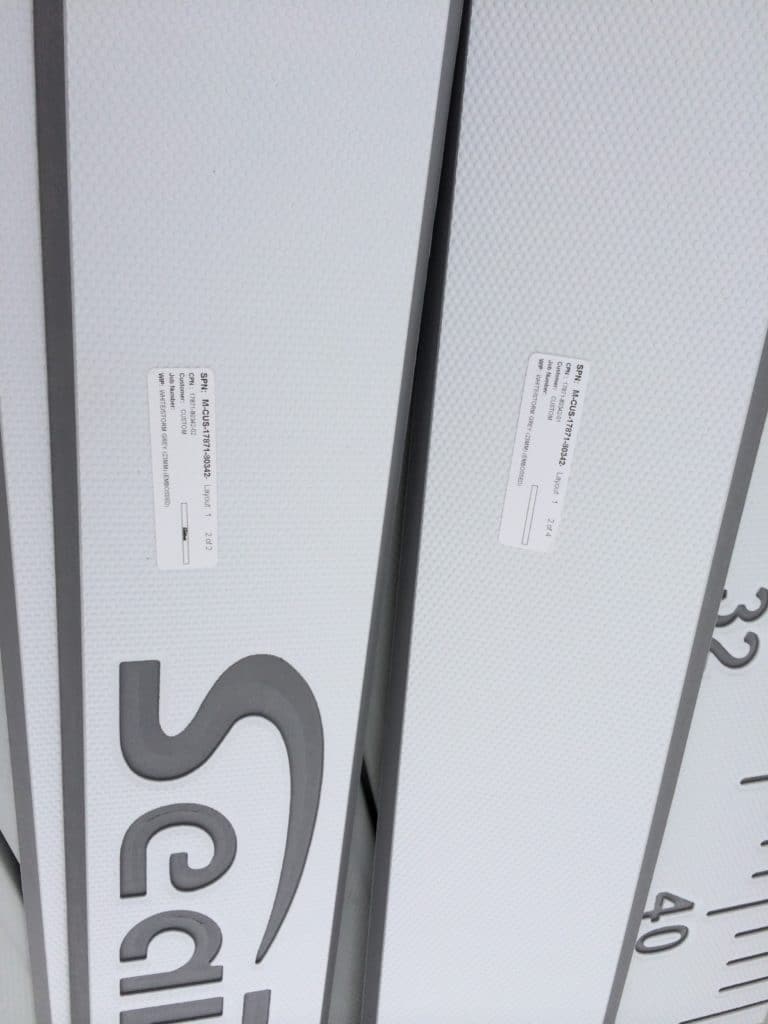
4. SeaDek provides labeling for custom pads, indicating in which order the pads should go. Though positioning was obvious in my boat’s case, this is the kind of detail we’d like to see more marine accessory suppliers include.
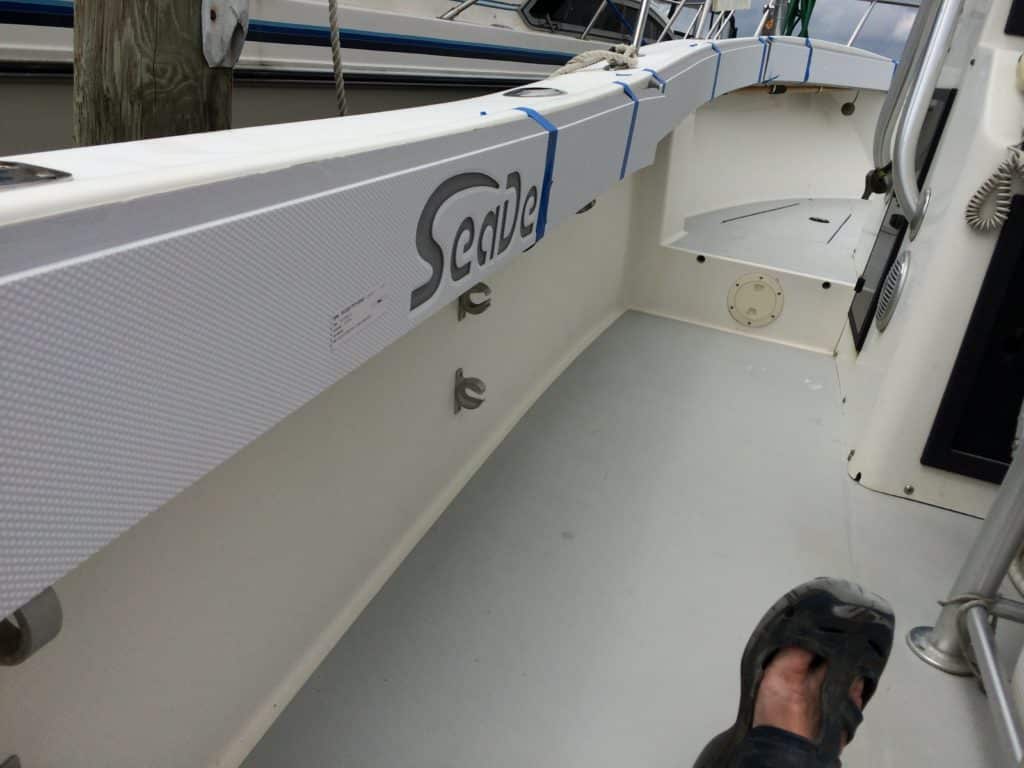
5. Unpack the bolsters and arrange them in the order they will be installed.
6. To ensure I had proper spacing, I taped my pads into position. Then I spent some time eyeballing them from different positions, and made adjustments to suit.
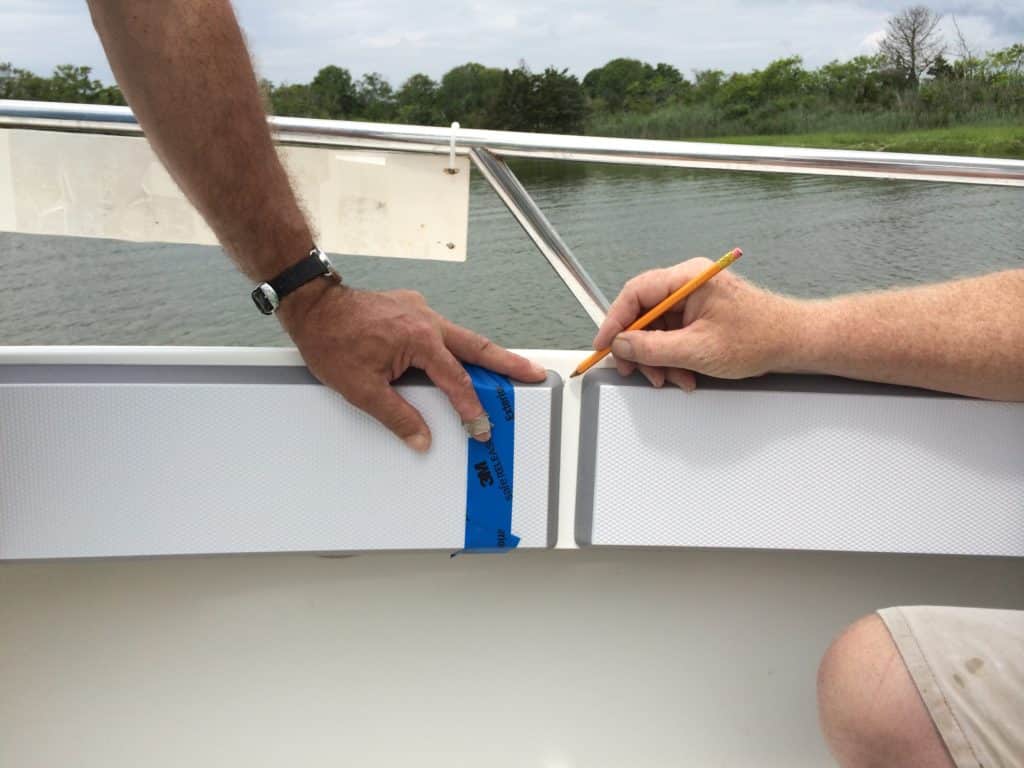
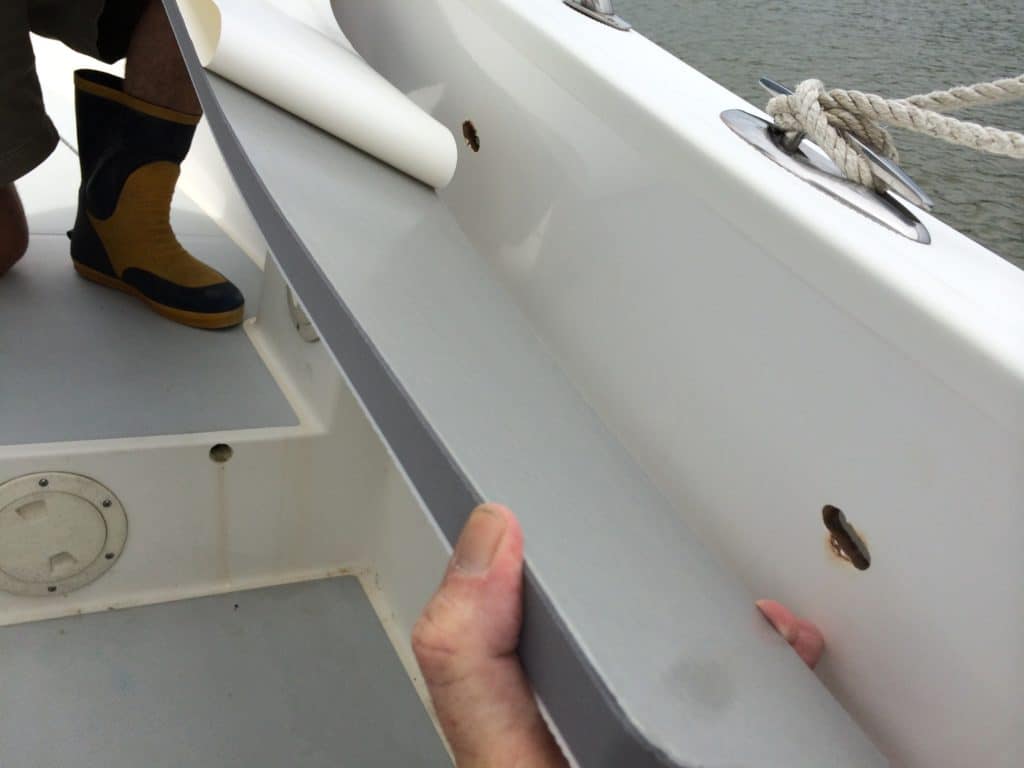
7. Measure and mark with a pencil. I wanted a consistent spacing between each pad, equal spacing at the ends, and a consistent ” reveal” above the pads. I also needed to make sure I covered all of the fastener holes from the old pads. Do take your time at this step, since once you stick the pads on, there is no ” do over.”
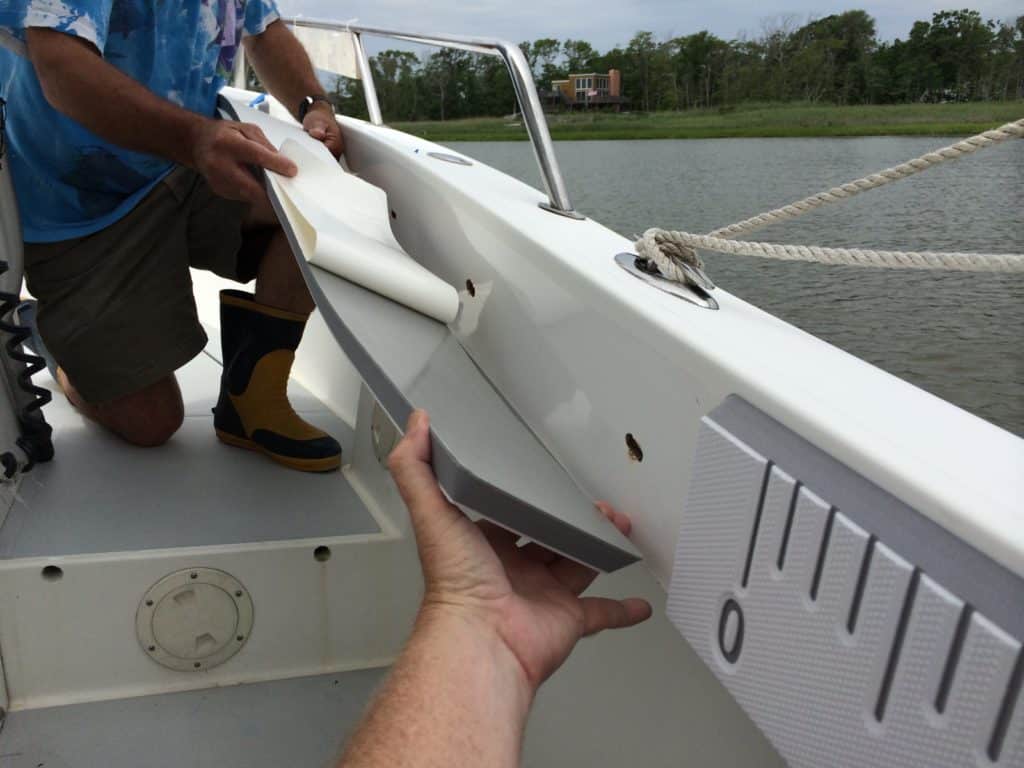
8. Starting at one end, find your starting mark and peel back SOME of the backer to expose a section of adhesive. Have your helper hold the rest of the pad away from the coaming. You concentrate on positioning and pressing the pad into place.
9. Only when you are satisfied, have your helper peel back a bit more of the backer and press a new section of pad into place. Between pads, be careful to keep spacing top and bottom, and any reveal width consistent. For instance, my boat’s sheerline rises dramatically, while the bow also flares out in width,meaning simultaneous bends in two directions may be required where a boat has more ” shape.” Bottom line: trust your marks, but look hard before you press in place.
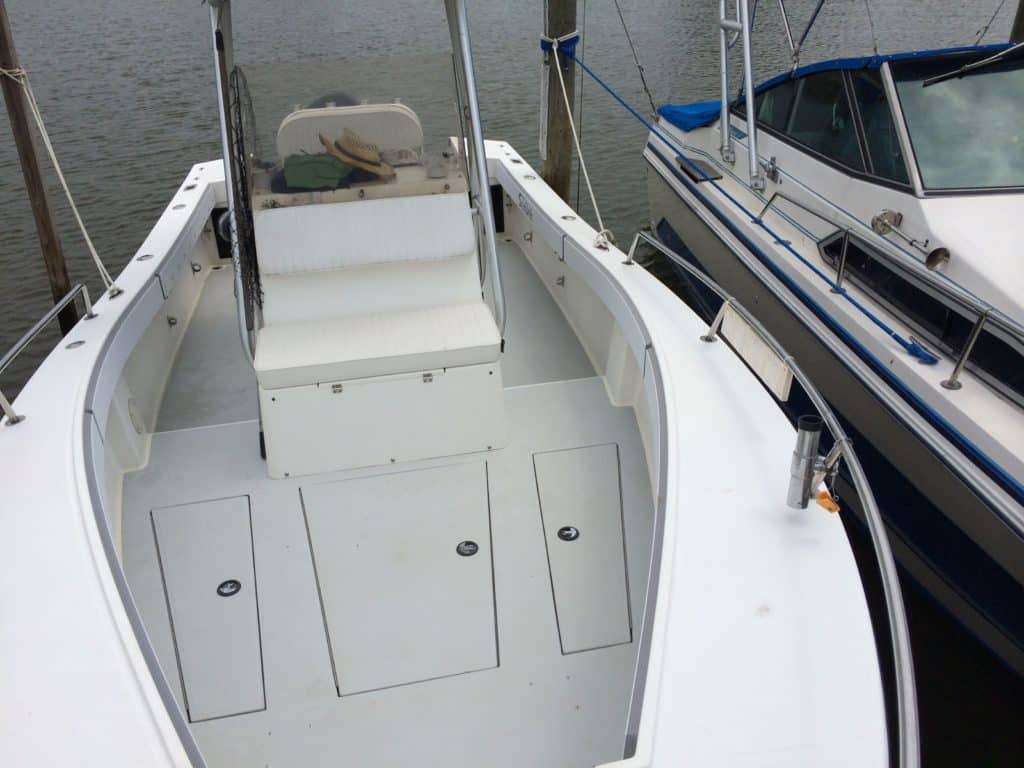
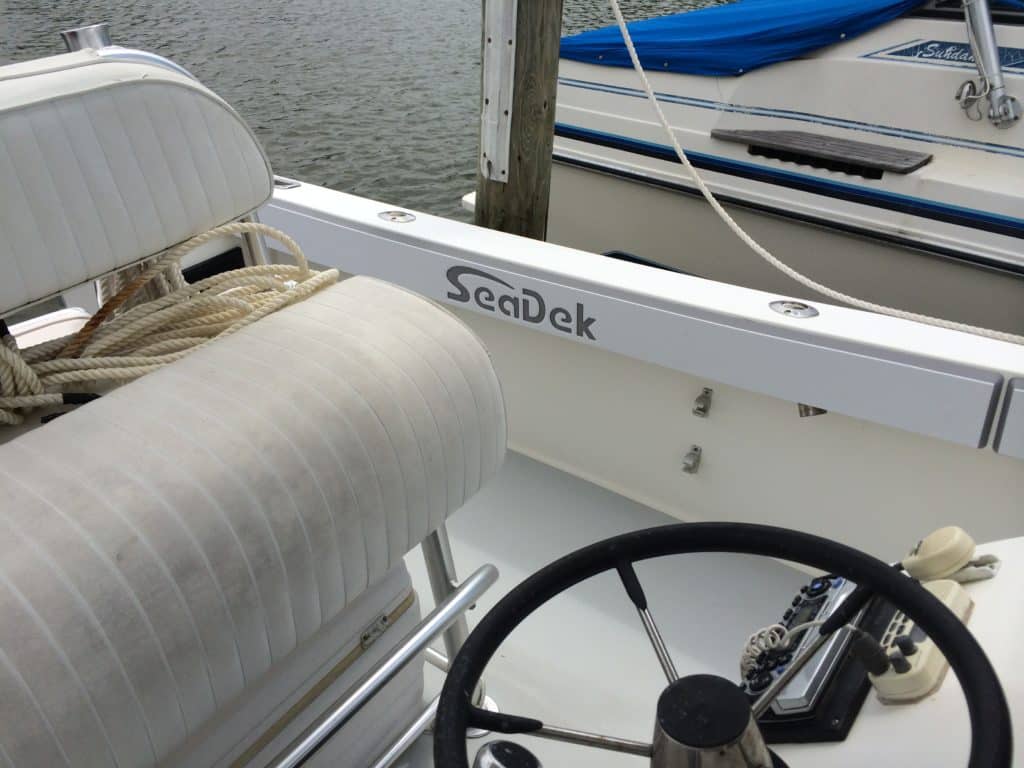
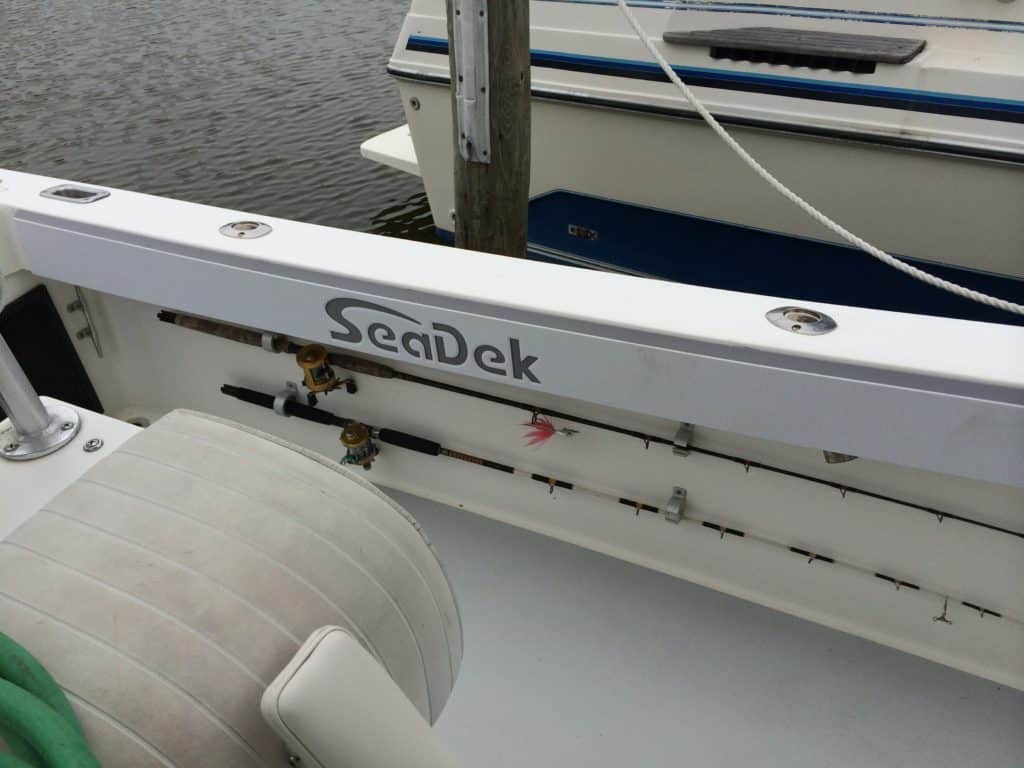
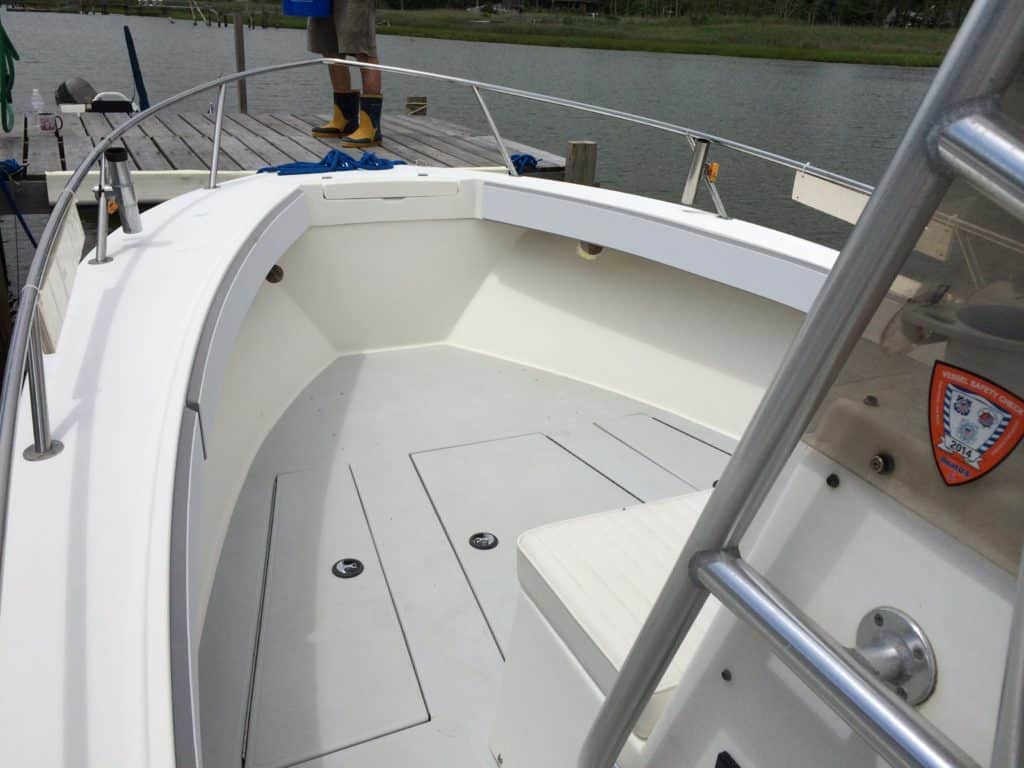
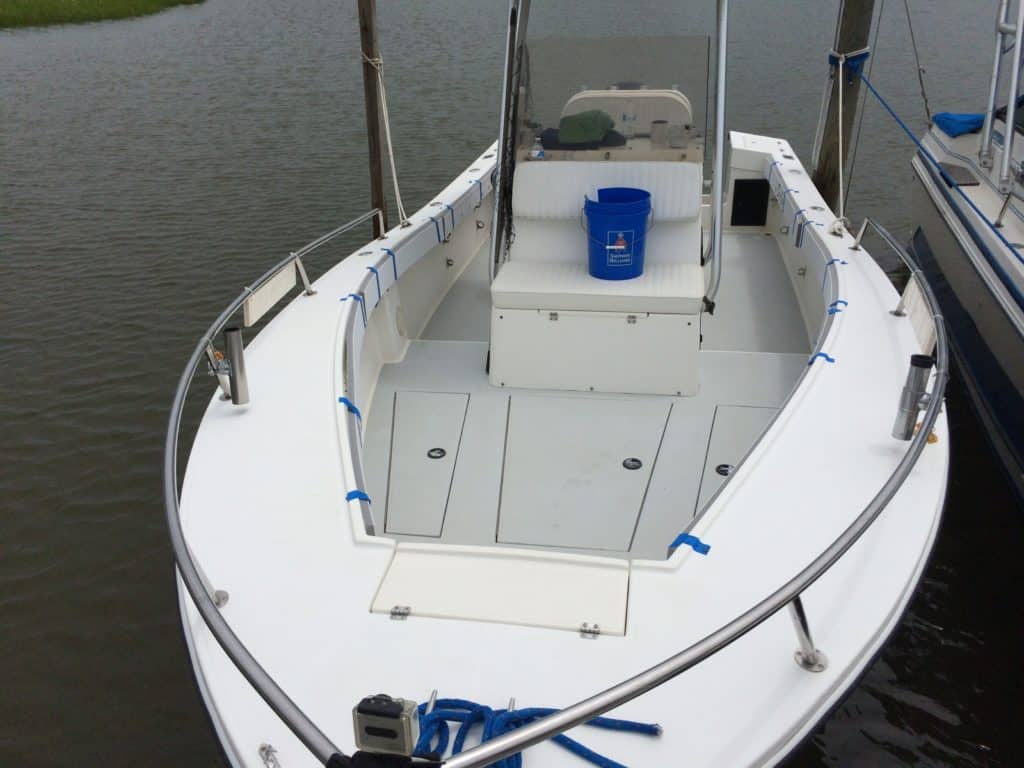
10. Make sure to press the pads evenly and firmly in place across both their width and their length. The remaining images show the finished installation, which took about 90-minutes in all.