Advil had become as much a part of my spring make-ready kit as paintbrushes, grease and wrenches. That’s because I usually spent four days swinging a rotary polisher to remove the cloudy-white oxidation and return Breakaway‘s finish to glorious. All that work would carry the glossy, dark-blue finish from April until about mid-July at my home port in the Northeast. If I were a lower-latitude boater, the more-intense rays of the sun would require me to haul the boat and refinish it sooner. But there is another option: boat paint.
Now, the best finish coatings are two-part paints. That’s what the pros use. That’s what companies like Hinckley Yachts and Hatteras apply over gelcoat to achieve the toughest finish with the best gloss, color, flexibility and resistance to abrasion and chemicals. That’s what your local boatyard with a boat paint booth and the great rep will use. But historically “two-part” paints have been finicky to apply, may have required special equipment, and may have come at a high cost.
Then, just as I was beginning to dread the upcoming compounding Olympics, Jon Boswell and Brad Martin of Engineered Marine Coatings (EMC) approached me last spring. They claimed to have developed a two-part marine coating called Quantum99 that was easy for DIY. It would provide a slick, glossy finish; a return to rich color; and it all fit in one five-gallon pail called the “Genius Bucket” for a retail price of $499. Grab a Tyvek suit, your respirator and some gloves and learn what happened next.

Gelcoat is wonderful boat paint. It allows a fiberglass boat hull to more easily slip from its mold. It’s great at that function. It can also be colored, thereby saving a step in manufacturing. And it looks reasonably good — some of the new gels look really good — especially after a wax job. And the newer formulations are more resistant to ultraviolet damage than older gelcoats.
But gelcoat isn’t a perfect finish. Over time, it gets ravaged by the sun, dulls and can become chalky. When that happens, you need to compound and wax with greater frequency just to maintain a so-so finish. Eventually, especially for some darker greens, blues and reds, no amount of compounding seems to work. Owners often resort to sanding before compounding, polishing and waxing to return the color and shine. At a certain point, the amount of work required to achieve a glossy, rich-colored finish can take days; in other words, almost the same amount of time it takes to prepare a boat hull for a boat paint job. This was true in my case.
Sure, paint prep might have taken a little longer. But it’s a one-time deal. And, once the hull is prepped and the paint coating applied, the DIY boater is free from the semi-annual arm-building marathon known as detailing. Unlike gelcoat, paint doesn’t need to be waxed to remain glossy.
So, what is “prep”?


The Nitty Gritty
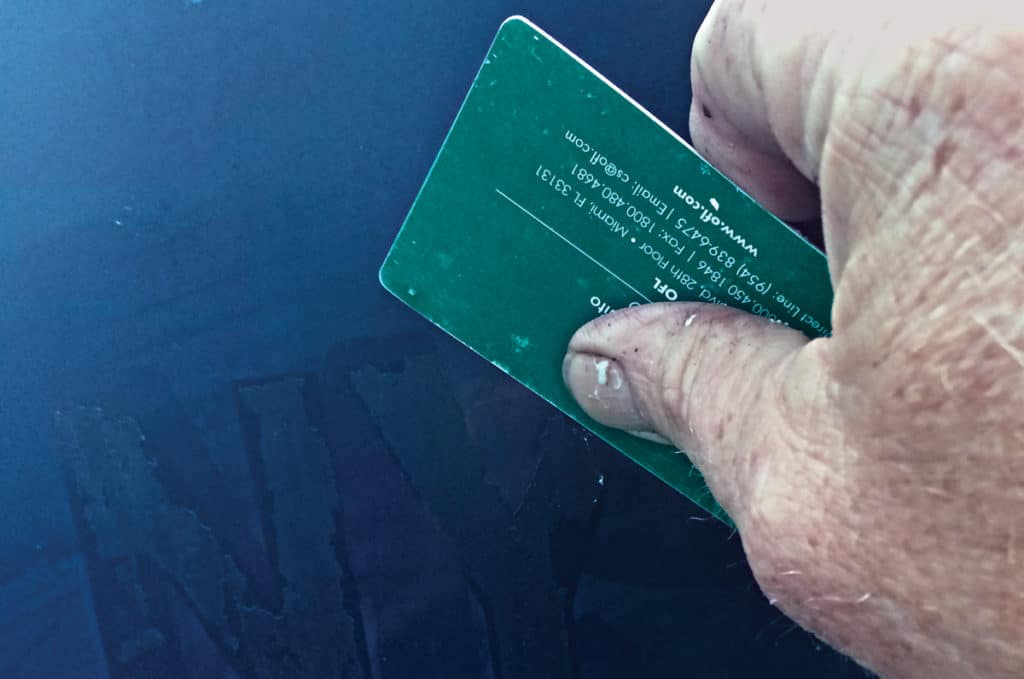
Removing decals was the first task I undertook. The registration and the skinny stripe of my boat’s two-part boot stripe readily succumbed to a heat gun and some peeling. Where scraping was required, I used an old credit card. The fat part of my boot stripe was brittle and would break off after peeling every 2 or 3 inches … for 56 feet of striping. That took some patience.
Removing the adhesive after removing the decals and stickers was the next task. A solvent was required. I have often had luck using WD-40 in conjunction with a plastic scraper for removing adhesive residue, and this worked here for all but the registration sticker adhesive. I went through a battery of solvents, including acetone and lacquer thinner, as well as off-the-shelf, ready-made “de-stickering” mixtures, finally discovering that denatured alcohol (the cheapest) worked best.
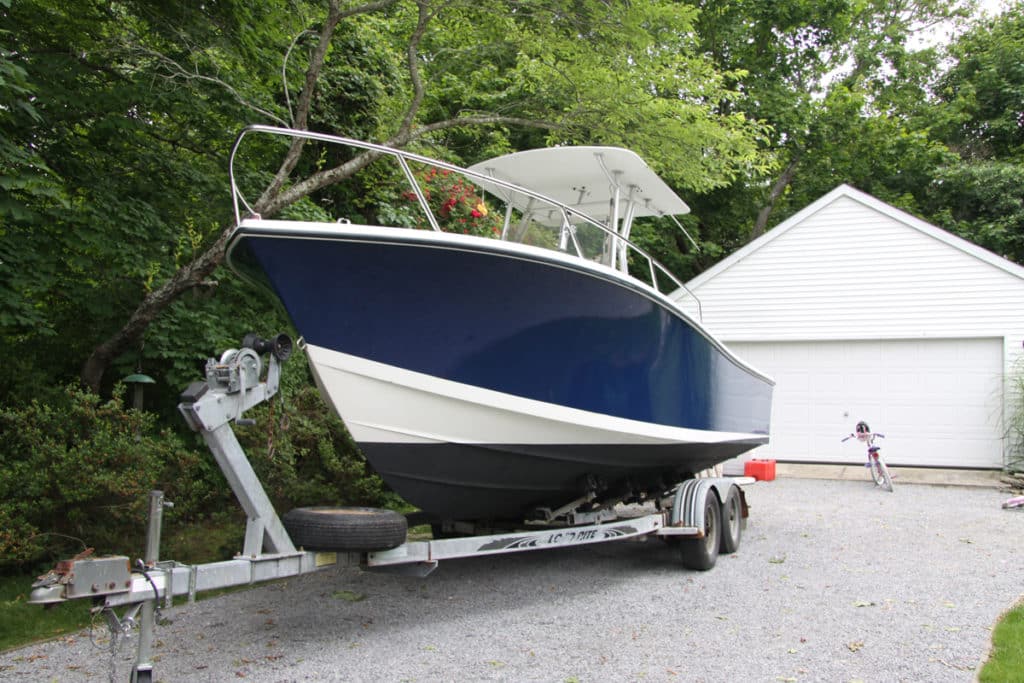
Next, I had to remove the boat’s name and the original dealership name, both of which had been painted on. These were still bright and legible after 17 years, which supported the case for boat paint’s durability. In fact, paint’s ruggedness became painfully evident as I tried to remove the names. No solvent worked. I finally resorted to oven cleaner, which removed most of the paint. It would take sandpaper and elbow grease to remove the remainder. I took heart from this, however, since in the areas that had been decals and names, the boat’s original blue color had been hiding from the sun. The color was dark and rich. Coupled with the object lesson in paint toughness I had just endured, I was psyched to get my boat painted.
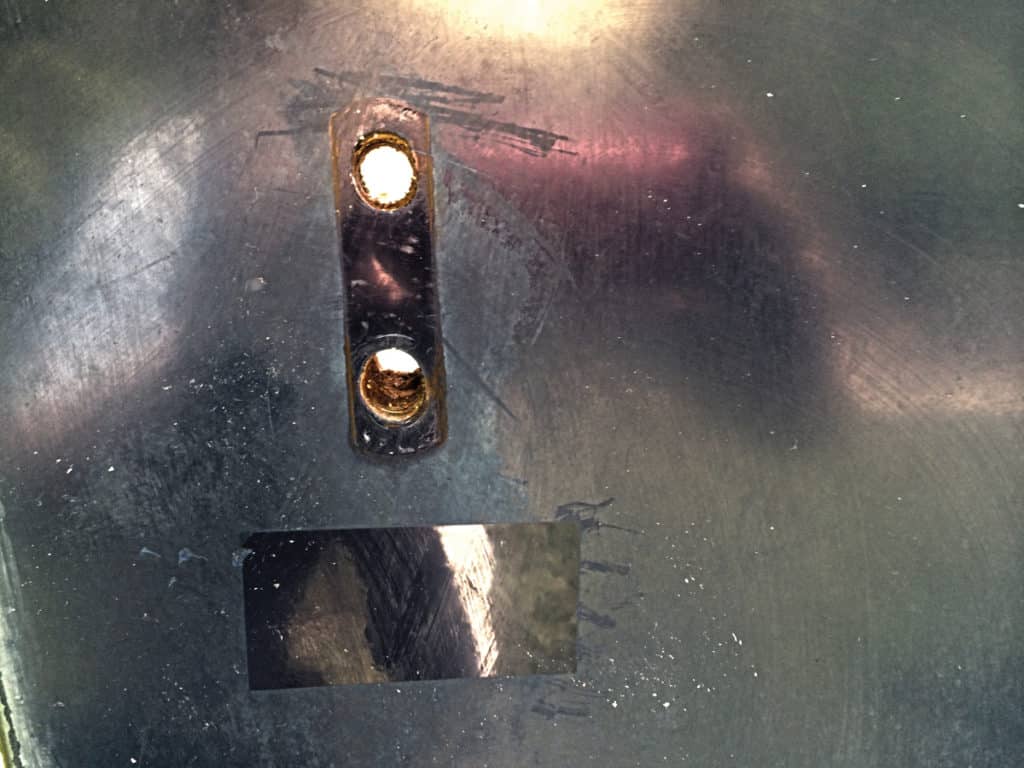
My boat had its share of scratches, gouges and gaff marks, and with a new finish coming, it made sense to go after these now. I prefer epoxy fillers and chose Pettit’s EZ-Fair to fill these imperfections. It proved easy to use, and it cures quick enough that I could apply two coats and then sand in one day.
Next, I removed all hardware from the boat. Transom rings, fuel vents, bilge pump and livewell discharge fittings all had to go. I left the motor on, deciding to “cut in” around it with a brush. I also took this opportunity to upgrade the plastic through-hulls to snazzier and more robust chrome-stainless models.
Next, I needed to sand the hull to give it “tooth” for the paint. There is much mystery and magic associated with sanding, with “wet sanding” often mentioned in hushed and reverent tones. Following advice from my friend, Fred Scopinich, owner at Hampton Shipyard, a Long Island, New York, boatbuilder, paint and service yard and dealer, I sanded the hull dry, using 400-grit Velcro-backed paper in my random orbit (RO) sander. The RO sander hooks up to a Shop-Vac, sucking away most of the dust (though a respirator is still mandatory) and making the paper last longer as a bonus. It took me the better part of a day and 23 sanding discs to complete this part of the job. I also did some wet hand-sanding up against the rub rail and around the engine’s bracket.
Finally, after flexing my muscles as a mechanic, sander and fiberglass technician, I was ready for the boat paint at last.


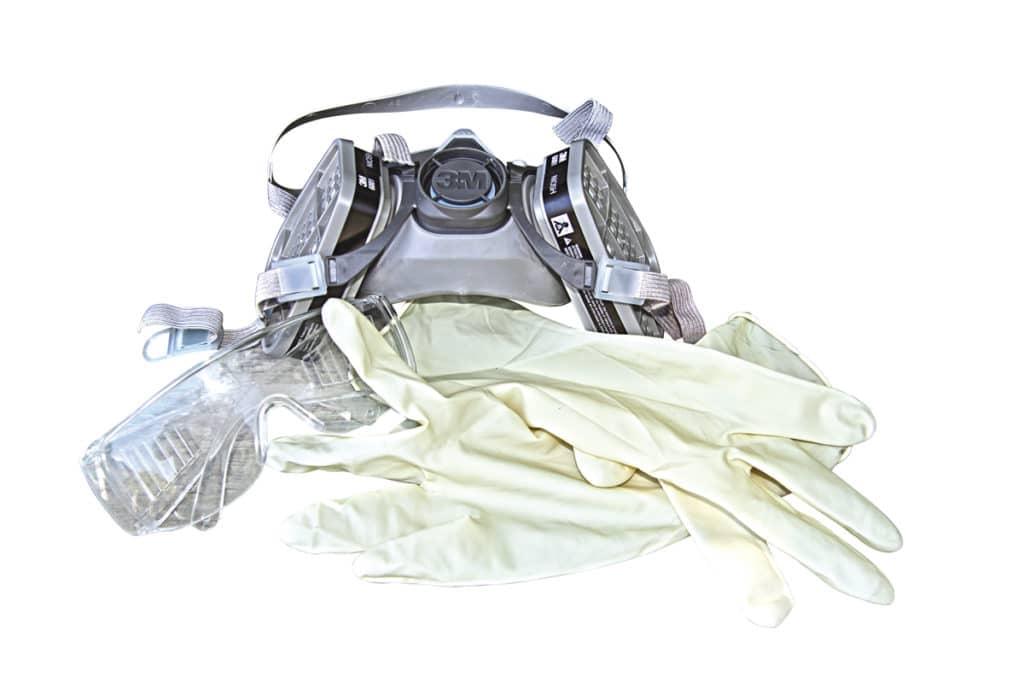
The materials and processes used in painting a boat, and prepping for paint, must be treated with respect. Wear a respirator — not just a dust mask — with a cartridge rated for organic vapor protection installed. (I used a 3M 6001 model). I am shown (on the following pages) wearing a half-face style, but full-face respirators incorporating a face shield are also available. Make sure it fits with a tight seal. Also be sure to wear safety glasses and gloves. Tom Schlicter

EMC’s Genius Bucket contains most of what’s needed to paint a boat up to about 26-foot length overall. It includes two quarts of Quantum base color, quarts of activator, reducer and all-purpose cleaner, mixing cups, gloves, scour pads, roller handle, rollers, pan and more. The Genius Bucket costs $499 at geniusbucket.com (855-54-genius). Tom Schlicter


On a Roll
According to Brad Martin, a chemical engineer, Quantum99 topcoat is a cross-linked polyurethane developed by cherry-picking the latest advances from the big resin manufacturers. The coating’s mission is not only to look great, be durable and resist chemicals, it must also be easier to apply. Many two-pack coatings require that a battery of different solvents and reducers be mixed in a mysterious cocktail before the paint will flow out and level. But Quantum99 is truly a two-part paint. Only the top coat and the activator need to be mixed, and a mixing cup is included in the Genius Bucket. That’s one of the biggest attractions for us DIY types, since imperfections like brush marks and roller stipple hold many boaters back from ever attempting to paint their own boat.
As an added bonus, no primer is required, provided you are not changing the hull’s color. What is required is a solvent wash using the special formula supplied by EMC in the Genius Bucket. After a good soap and water wash to remove heavy residue, solvent is wiped on with one rag and wiped off with another rag one hour prior to painting. It will remove any traces of wax and grease that could create “fish eyes” or other finish flaws. As indicated earlier, a cartridge-type respirator with an “Organic Vapor” rating is not supplied but must be worn.
Mixing Quantum99 proved dead simple. It’s a 2-to-1 ratio, and I found that about 8 ounces of mix was enough to coat one side and the transom of my 23-foot-long boat. Two coats are called for, and if too much is mixed at one time it could start to cure in the paint tray. So it’s best to mix enough to get to a natural stopping point, and then mix some more.
I had expected to apply Quantum99 using the “roll and tip” method in which, working with a partner, a stripe of paint is rolled on, and then the brush person follows, “tipping off” the roller stipple (bubbles), breaking the surface tension, and allowing the paint to flow out (“lay down” in painter parlance). To my surprise, it was suggested that with Quantum99, all I would need was a roller.
“Let the chemistry work. The flow out is ‘built-in’ to the coating,” they told me.
OK.
I used a small-diameter “hotdog” roller and practiced on a sheet of Plexiglas to get a feel for how much to load the roller. Boswell and Martin stated that I could really “stretch” the paint. They were right. A little goes a lot further than I initially thought. It was hard to resist the temptation not to go back and “fix” certain areas by rerolling them. But I stayed my hand, as directed, and was amazed to watch the paint transform into a smooth, glossy coating. The pictures speak for themselves.

All That Glitters …
Truth be told, this is not a replacement for a professional paint job. I am not a pro, and despite the excellent qualities of Quantum99, there are a few small runs and areas of orange peel where I laid it on too thick — but you need your nose pressed to the boat in order to find them. Also, I counted 11 gnats that decided to commit suicide in the coating as it cured. These will be taken care of in the off-season with some compound — fortunately, Quantum99 is repairable, another attribute. As for painting outside, I waited for a windless day and didn’t suffer any (visible) windblown grit in the finish.
But everyone who has seen my boat thinks it is a professional boat paint job. In the water, the boat looks stunning. Folks I don’t know idling past my dock call out, “Who painted your boat?” I nonchalantly tell them the only thing I can, “A genius.” Then, before they can ask a follow-up question, I ask if they need any boat wax.