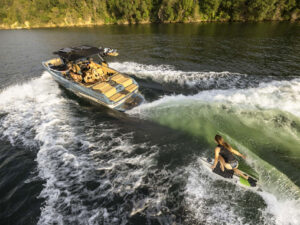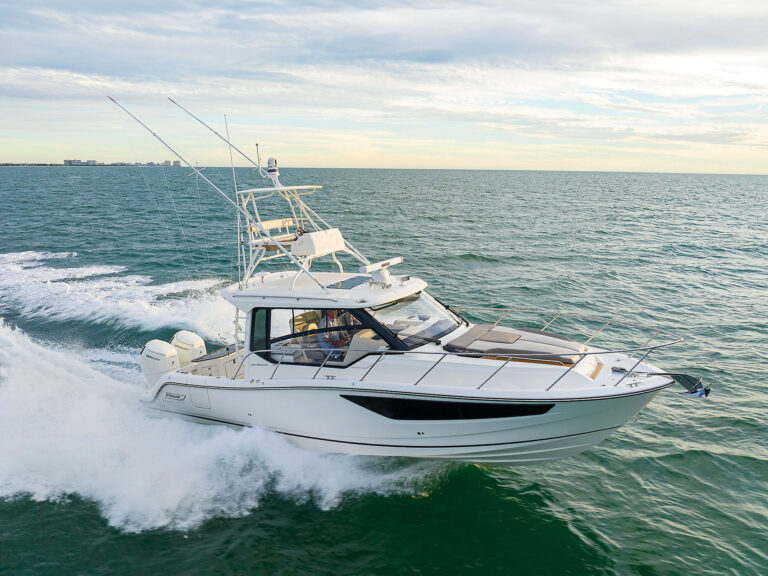
Side-tying your boat to pilings at a stationary dock poses a problem in waters subject to tides: How to do you keep the boat securely moored, prevent dock rash and avoid sinking your vessel while also accommodating daily fluctuations in water levels?
Boaters often employ out-pilings and crossed-tied bow and stern lines, as well as spring lines, which allow the boat to float with the tide. It’s a hassle and also complicates the docking and boarding processes.
Read Next: How to Rig Your Slip
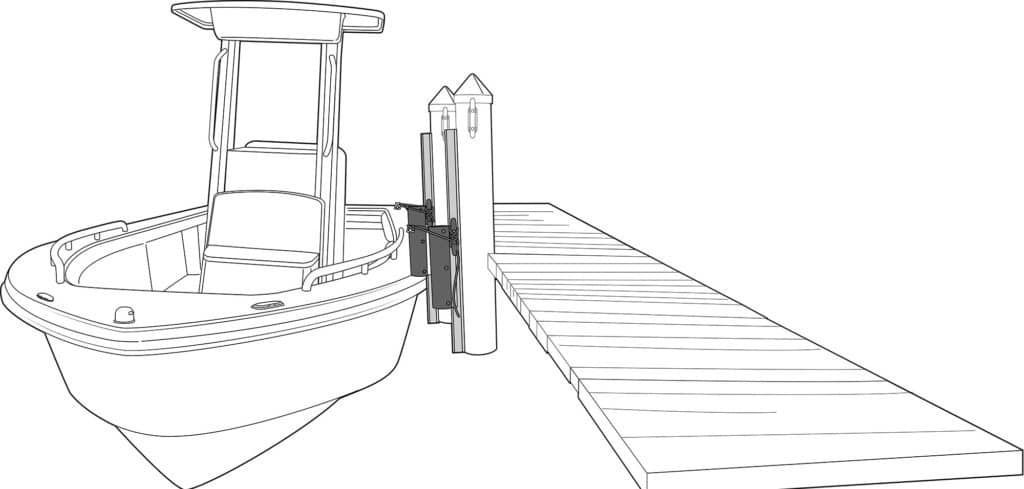
Florida-based SlideMoor Docking Systems LLC offers another solution. It uses tracks on pilings that allow sliding fenders and cleats to move up and down on the track as the boat rises and falls. Vessels less than 60 feet require only two SlideMoor Plus units (one at the stern cleat and one at the spring cleat). With a wide choice of fender sizes, tracks are available in lengths ranging from 8 to 20 feet for various tidal ranges. This makes docking and boarding much safer and easier.
SlideMoor recommends professional installation, but a competent DIYer can handle the job with the right tools and helping hands.
Skill Level: 3.5 out of 5
Finish Time: Approx. 3 Hours
Tools and Supplies
- SlideMoor Plus (starting at $959 per piling, slidemoor.com)
- Marker, such as a grease pencil or Sharpie
- Level
- Tape measure
- Drill motor and 1/4-inch bit
- Pneumatic impact wrench, air compressor and air line
- Impact socket-wrench set
- 1/2-by-6-inch stainless-steel lag bolts (10 per 8-foot track)
- 3/16-by-3-inch stainless-steel lag bolts (two per parking cleat)
- Low-stretch dock lines (two per piling)
- Slotted screwdriver
- Socket-wrench set

Mark the Pilings
The length of the tracks should accommodate the greatest possible tidal swing, plus 18 inches. Determine which two pilings to use, ensuring that each will line up directly with the stern and spring cleats. Mark where your boat’s rub rail touches each at the stern and spring cleats at dead low tide, then measure 18 inches below that point and mark it to indicate where the bottom of the track will install. The height of the rub rail in the stern might be lower than the height at the spring cleat, so the marks on each piling might vary.

Drill the Mounting Holes
Tie a safety rope through the top hole of the track in case the track falls into the water. Install the supplied 1/2-by-1-inch stop bolt, lock washer and nut in the lower track hole. Position the track within the proper operating range. Don’t remove the corrosion-resistant backing tape. Mark the top hole, remove the track, and drill a 1/4-inch hole into the piling. Using the top hole only, bolt the track snugly in place. Ensure the track is plumb and centered; mark all the holes and remove the track. Drill 1/4-inch holes for each of the marks.
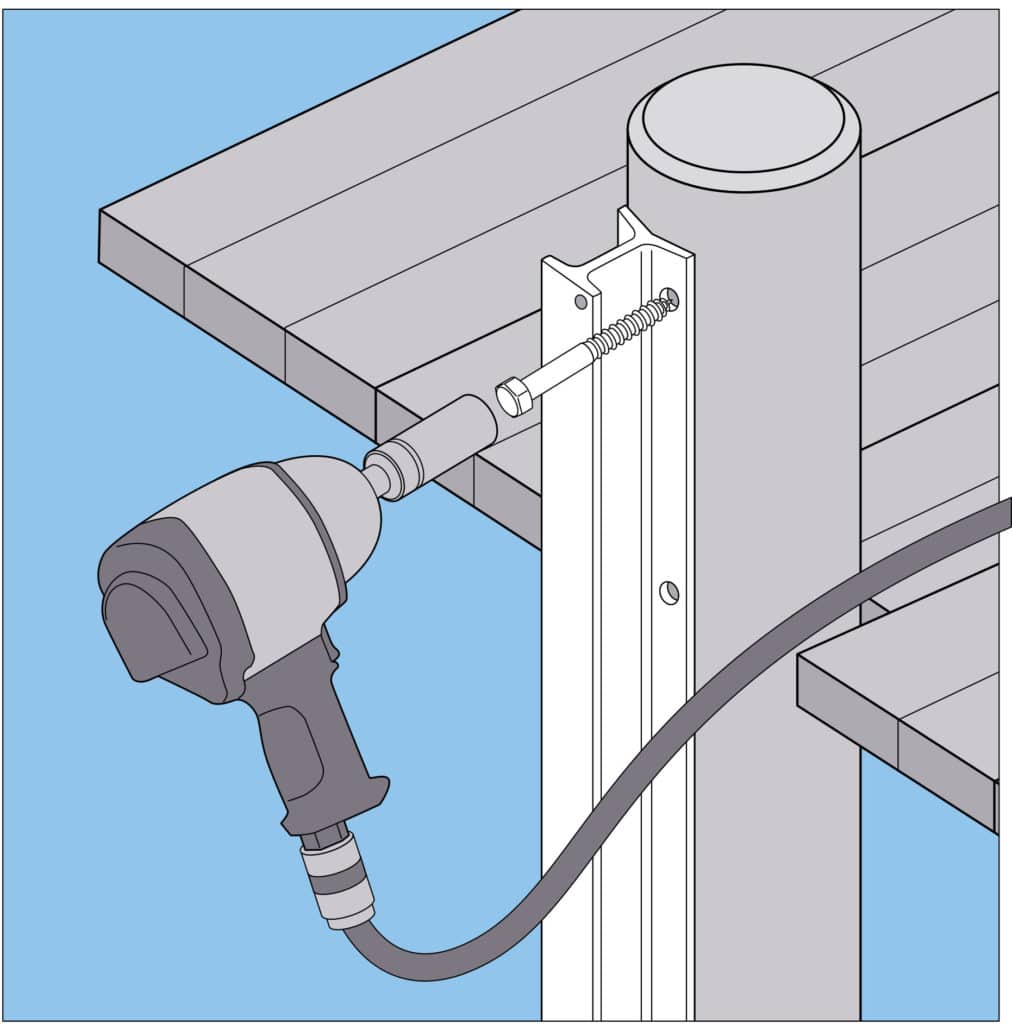
Install the Track
Secure the track using 1/2-by-6-inch stainless-steel lag bolts (not supplied). A pneumatic impact wrench can ease the task of driving the lag bolts into the dense timber, especially for hard-to-reach bolts below the dock. Recheck and tighten the lag bolts after one week of use. Using stainless-steel hardware (not supplied), mount the “parking” cleat on the piling where it can be reached from the boat, just above the top of the track and to the side in order to hold the slide in position when your boat is away from the dock.
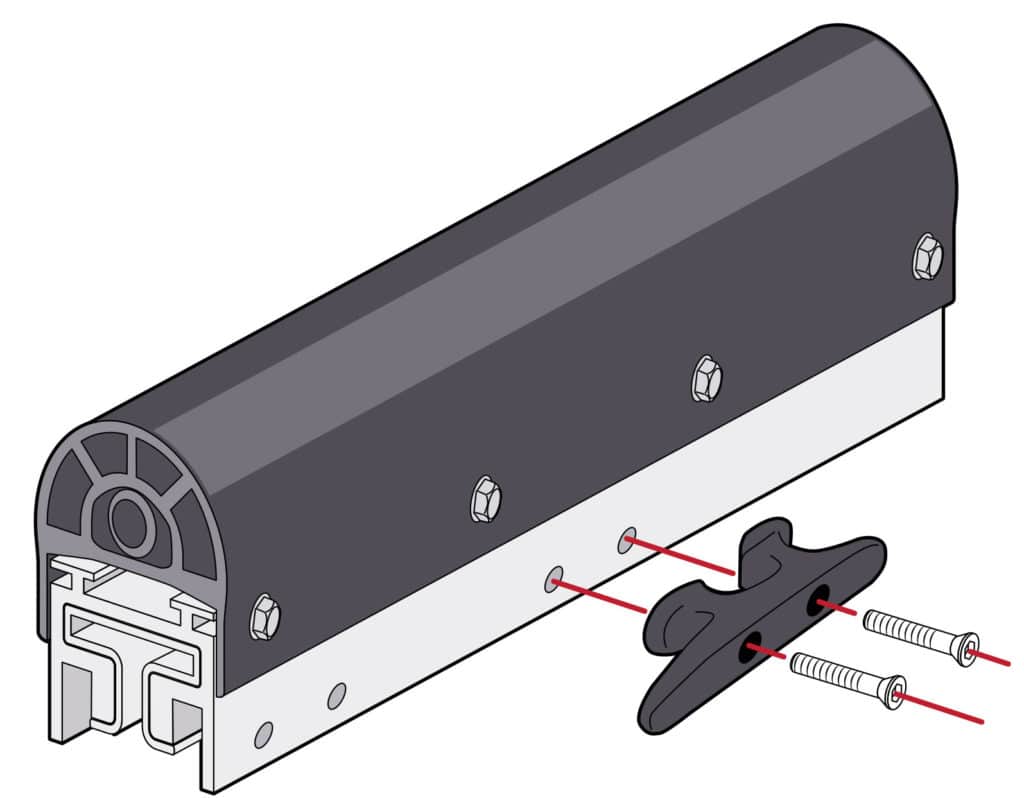
Assemble the Slide
Insert the supplied 5/16-inch stainless-steel bolts into the cleats and mount on both sides of the pre-assembled slide. Determine if the cleats need to be installed in the middle or top of the slide (based on the vertical distance of the rub rail to the top of the coaming). Secure with the supplied locknut. Attach a dock line to one of the cleats. Lift the slide assembly to the top of the track and slide it on. Tie the line to the parking cleat to hold the slide in place. Install the supplied 1/2-by-1-inch stop bolt in the top track hole and secure it with the lock washer and nut.
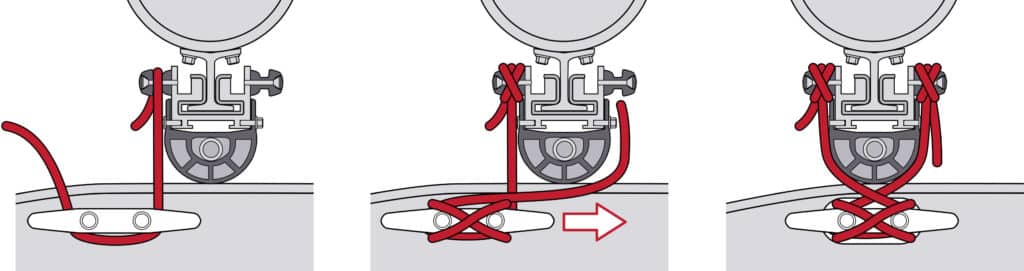
Tip: When tying off, position your boat with each cleat directly in line with the SlideMoor and pull the line tight before tying off. Return the line from the deck cleat to the remaining cleat on the other side of the SlideMoor. Once again, tie off tightly. Also, always use low-stretch dock lines to ensure optimum performance of the system.