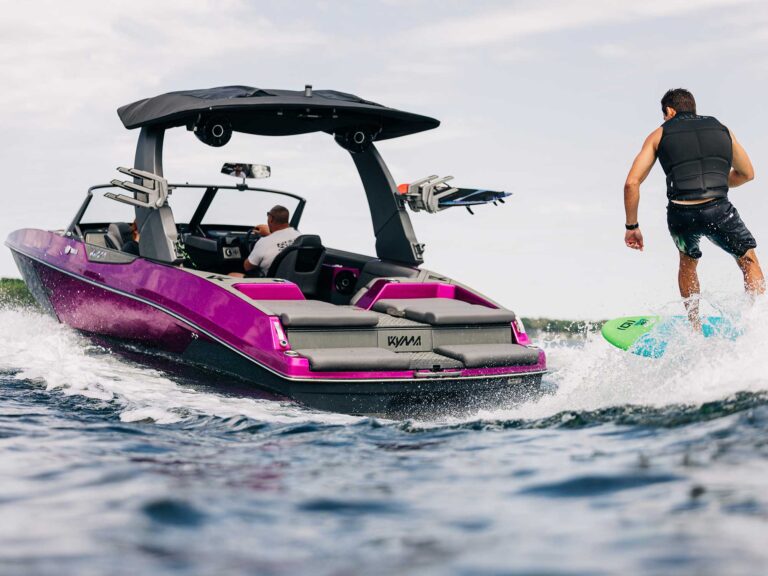
There’s a lot of hype about ceramic coatings for planes, automobiles and especially boats. We got curious about them and initiated a test to learn how involved the application process is and see what kind of finish they might provide. Gtechniq’s Rinse-On Ceramic Coating is pretty easy to use, providing three months of protection—enough for most North American boaters’ main season, and it’s easy to renew midseason for more longevity. Our results made it an ideal DIY project. For more durable ceramic-coating products, professional application is recommended.
Ceramic coatings work by penetrating the gelcoat at the molecular level, sealing out impurities and blocking damaging UV light. To be effective, they must be applied to a perfectly pure surface, free of grease, grime, organic residue from algae and birds, metallic residue, and exhaust residue from highway and overhead air traffic. Last, before ceramic application, the gelcoat has to be free of chalky oxidation. If it is not, the ultra-clear ceramic finish will intensify the sun’s rays and accelerate oxidation.
Here’s how we did it in just a few hours using the right cleaning tools and supplies.
Skill Level: 2.5 out of 5
Finish Time: Approx. 4.5 hours
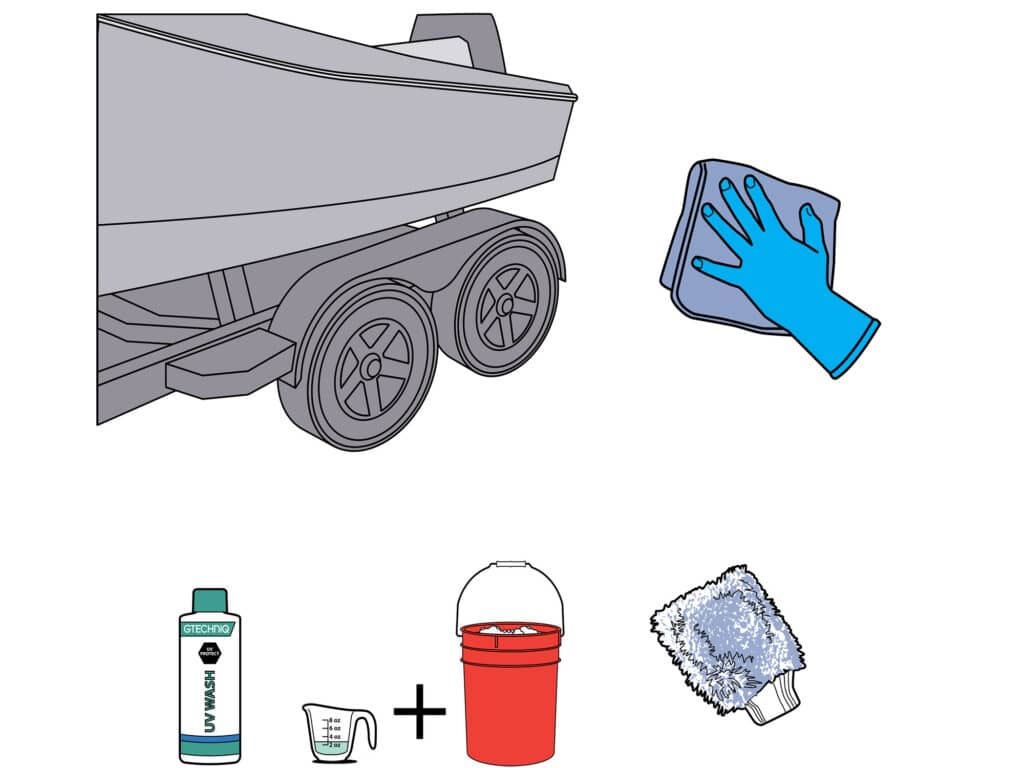
Tools and Supplies
- Iron and Fallout Remover ($29.95 per 35 oz; amazon.com)
- UV Wash ($18.95 per 16.9 oz; amazon.com)
- Multi-Stage Polish ($37.95 per 16.9 oz; amazon.com)
- Panel Wipe ($19.95 per 16.9 oz; amazon.com)
- Rinse-On Ceramic Coating ($29.95 per 16.9 oz; amazon.com)
- Wipe-On Ceramic Fast Coat ($39.95 per 16.9 oz; gtechniq.com)
- Garden hose
- Rubber gloves
- Goggles
- Spray nozzle
- Microfiber wash mitt
- Microfiber towels (six to 12)
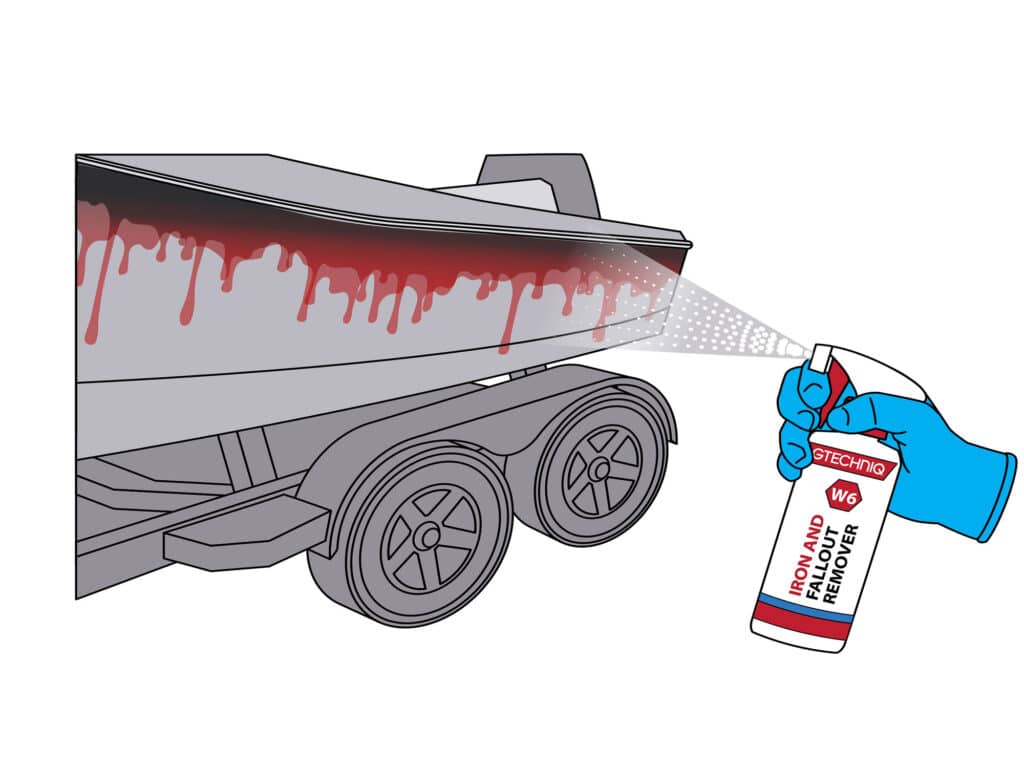
Iron and Fallout Remover
This spray-on compound turned purple on the hull surface as it worked to dissolve metal residue, grease, and organics from the water. In about five minutes, when the intensity of the purple reaction stabilized, its job was done and we rinsed it off. It did not require a second treatment. When applying it, pay special attention to the transom area, where engine exhaust is apt to “station wagon” and foul the transom. On the hullsides, we found the most reaction along the aft half of the hull.
Tip: Iron and Fallout Remover is an essential step but only currently available in Gtechniq’s automotive line, so look for it under that heading.
UV Wash
The Gtechniq UV Wash is a high-sudsing detergent with an ultraviolet protectant formulated to assist the ceramic bond on the boat’s finish. We mixed a few ounces in a couple of gallons of water, washed it on with a microfiber mitt, and rinsed it off. Thanks to its UV-protective properties, this is the ideal product for maintaining the shine in subsequent washes. If you recoat the hull midseason with the Rinse-On product (which is recommended), this is likely the only step you’ll need for extended protection.
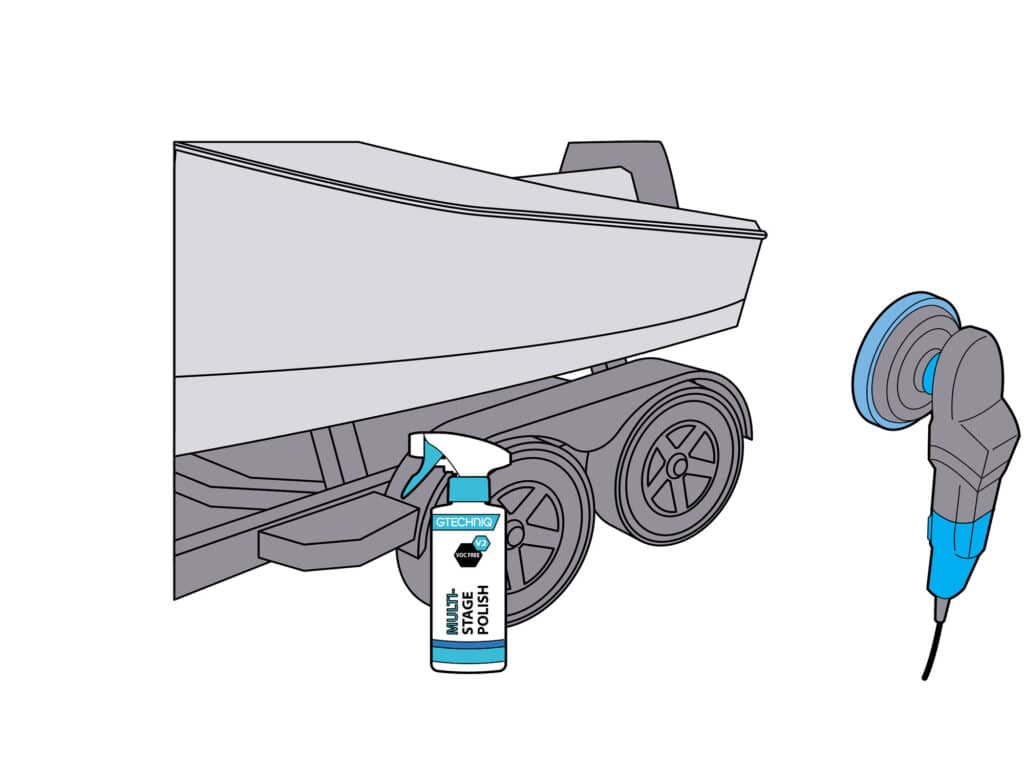
Multi-Stage Polish
If there is any oxidation on the gelcoat, applying the ceramic coating over it will accelerate the hazing process. The Gtechniq Multi-Stage Polish has low sling properties, meaning it won’t spin off the buffer during application. It’s designed to remove oxidation, and the compound’s cutting action diminishes in aggression as it is buffed off. The result is a surface free of oxidation with a high gloss, nearly ready to accept a ceramic coating. Our test boat was just three years old and benefited greatly from this treatment.
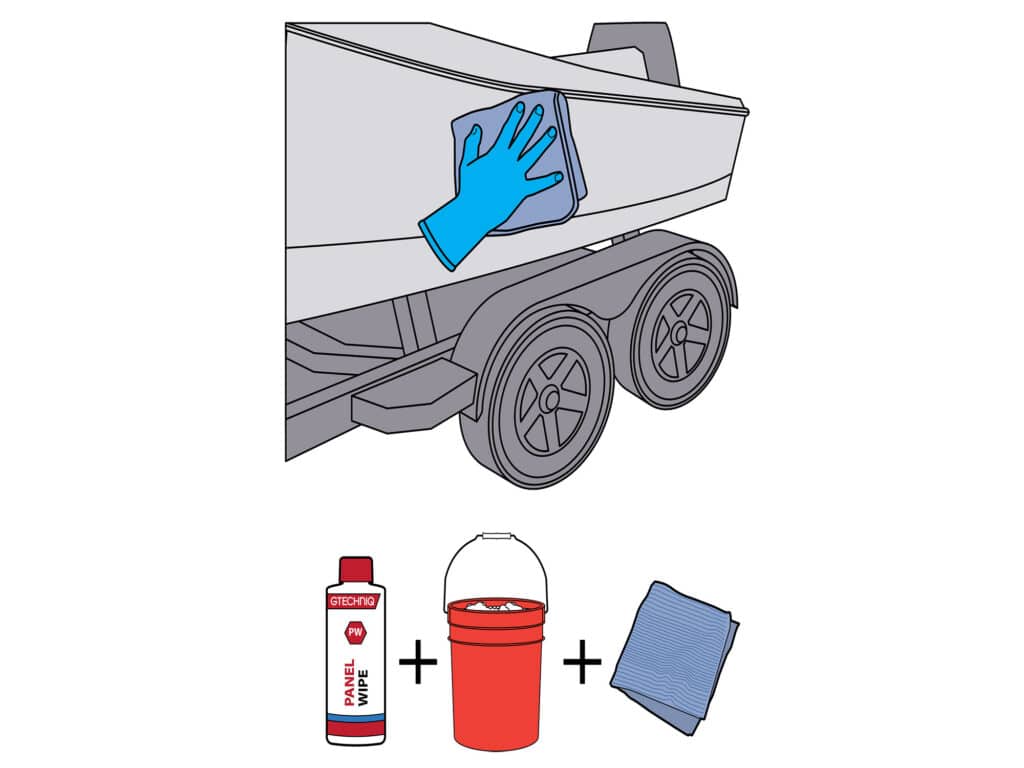
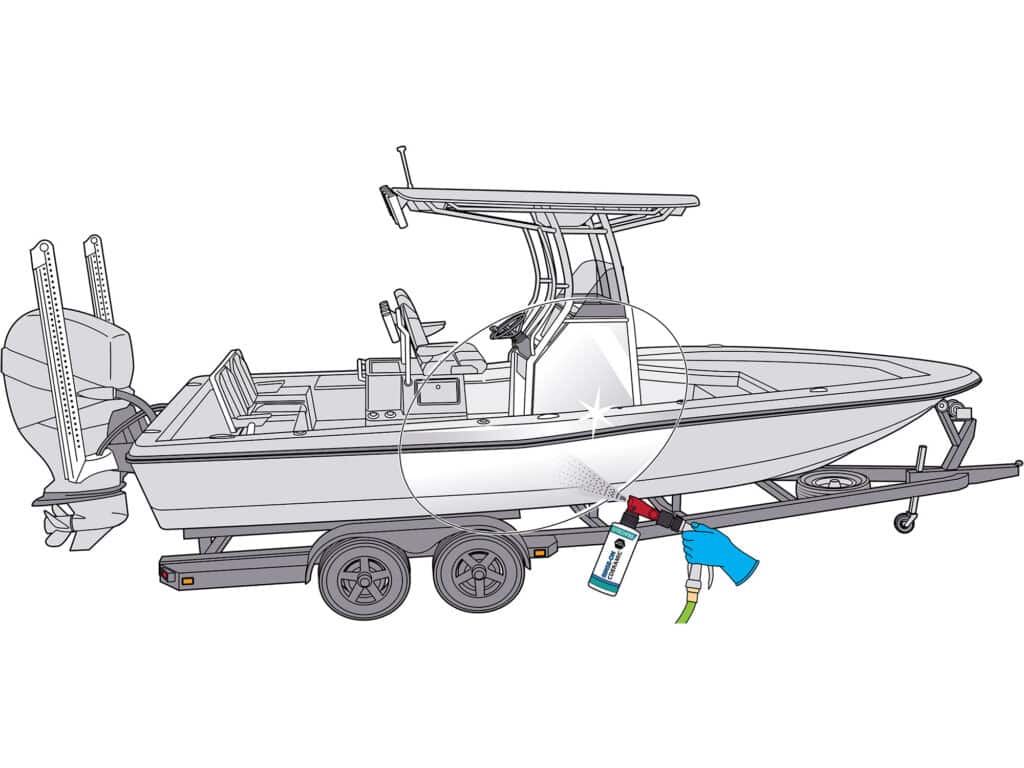
Panel Wipe
This is the last step before applying the ceramic coating. The Gtechniq Panel Wipe helps ensure that there is no petroleum, organic wash, polish residue, or any other impurities on the boat’s surface. It also assists in allowing the ceramic to penetrate and bond with the boat’s gelcoat. Spray it on a microfiber towel and wipe it onto the surface until it slides smoothly across the application area. Follow up by wiping down with a dry, clear microfiber towel to be sure all residue is removed from the boat’s finish.
Read Next: How to Restore Damaged Paint Finishes on Outboards and Sterndrives
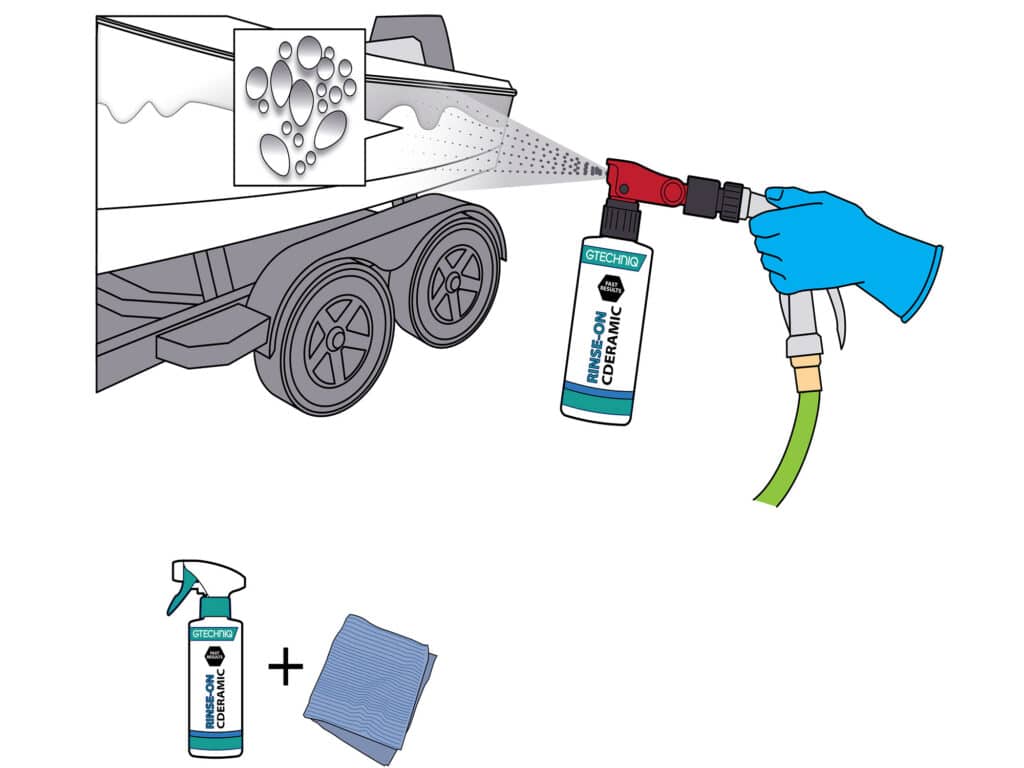
Rinse-On Ceramic
A good way to gauge the impact of the Rinse-On Ceramic Coating is to first hose down the boat and watch the water adhere as it flows down the surface. Then, soon after beginning the spraying, it should suddenly start to bead up and zip off, indicating the ceramic is bonding to the gelcoat. With the spray nozzle pointed to the hull, we opened the water valve, then adjusted the ceramic valve to about halfway and sprayed from side to side. By the second to third pass, water beaded up, indicating the product had bonded.