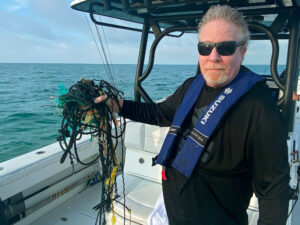
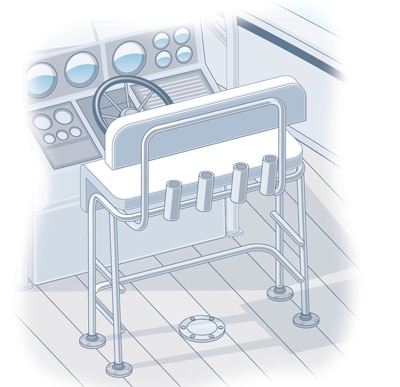
Leaning posts have their fans, primarily because they allow the captain to stand and absorb the abuse of rough water, but also because they create space for an under-seat cooler or livewell. A friend’s center console was ready and waiting. The primary challenge was gaining access to the underside of the cockpit sole, a feat we accomplished by adding a handy deck plate.
Step 1: Assemble the leaning post according to the manufacturer’s directions. Position the post where you want it behind the helm. Ideally, it should be about 12 inches from the console. Tilt your wheel, reach for the GPS zoom, and try putting a can in a drink holder a few times so you know the spot is “right.” Trace the feet, and make a pencil mark at the fastener holes. Remove the post and connect the “feet marks” with a straight edge to square up the overall footprint.
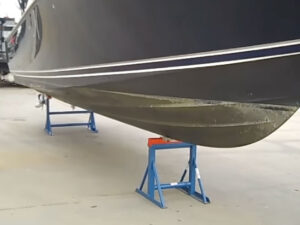
Step 2: Inspect the area beneath the sole to make certain nothing will be damaged when drilling or fastening mounting bolts. Gain access through existing deck plates if possible; if not, check with the manufacturer about what’s below, or consider cutting an access hole that can be covered and sealed, or finished with a deck plate. Use a flashlight to inspect. Be especially cautious of electrical wiring, gas tanks or hoses, or any structural members.
Step 3: Fashion backing plates out of quarter-inch aluminum plate that is twice the size of each foot.
Step 4: Carefully mark each mounting hole, and then remove the leaning post and drill holes using the appropriatesize bit. A piece of masking tape on the bit at the desired depth serves as a handy marker to avoid drilling too deeply. Make sure the drill is perpendicular while boring the holes. Reposition the leaning post, and check to make sure everything still lines up properly.
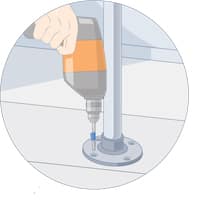
Step 5: Bolt diameter is determined by the pre-drilled holes in the feet of the post. Length should be enough to completely engage all the threads of the nuts. Use locknuts and large “fender” washers. “Butter” the underside of each foot with sealant, and insert the bolts into the mounting holes. Using your access point, install pre-drilled backing plates over the bolts, and top off with fasteners — locking T-nuts for lumber, washers and locknuts for aluminum. Tighten securely.
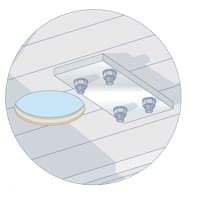
Step 6: If access isn’t available, cut a hole within reach of the mounting location large enough to install backing plates to back up the mounting hardware. Stay within the confines of the mounting feet. Finish the hole off with a deck plate for the cleanest installation. An alternative is to seal and cover the hole with marine plywood, which you would then ‘glass, and paint or gelcoat, to match the sole.
Tip: Depending upon your current seat setup, you may be able to use your existing seat posts to mount a leaning post, such as Todd USA’s Universal Leaning Post. Remove the seats, measure the centerline distance between the two pedestals, and then adjust the brackets on the Universal Leaning Post to match. The post can then be tightened and simply lowered onto the existing pedestals.
Retaking a Seat
Don’t have a center console? Keep these tips in mind when replacing any style of seat.
Whenever possible, use bolts instead of screws. Screws can back out and are more susceptible to tension forces. Always back up nuts with washers.
Be sure to use a backing plate on any type of seat installation, especially for coastal boats that get rattled in rough water. A backing plate spreads the load over a greater area and prevents flex.
Don’t forget sealant. Cockpit floors see plenty of water. You want that water to drain away, rather than leak into areas below the deck through bolt holes.