Today’s new center-consoles have evolved into much more than just fishing boats. These popular models increasingly come with all kinds of family-oriented amenities, including optional or standard ski pylons, tow bars, and other secure tow-rope attachment points for watersports such as water-skiing, tubing, wakesurfing, and more. A prime example is the Sea Pro 225FLX Sandbar Boat.
On the other hand, watersports rearview mirrors seem as rare as hen’s teeth on most center-consoles. That’s a shortcoming in our view, because when used in conjunction with an aft-facing crewmember to serve as a spotter, a wide-angle watersports mirror allows the helmsman to keep eyes forward while also monitoring the riders and other elements astern to boost situational awareness and safety.
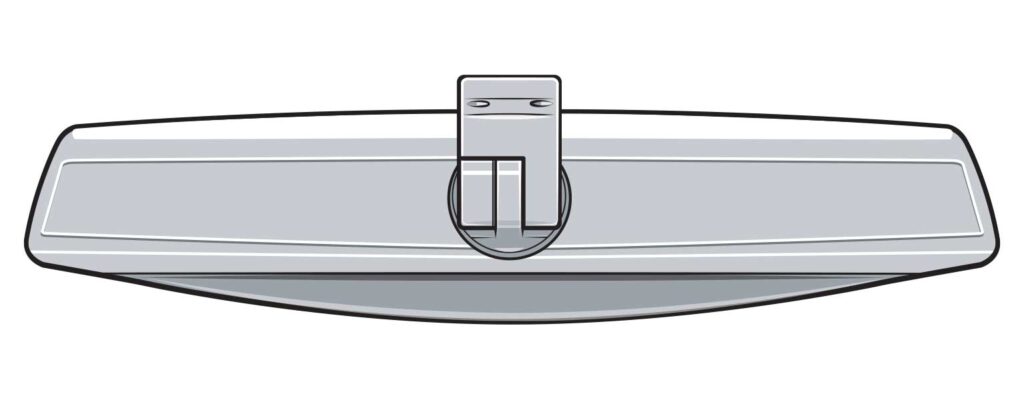
A watersports mirror can prove helpful in other endeavors as well. While fishing, for example, you can keep an eye on anglers in the aft cockpit, as well as boat traffic approaching from astern. There are not a great many watersports mirrors designed for CCs, but one standout is the PTM Watersports Edge VX-140 center-console mirror.
It is quality-built from powder-coated billet-aluminum construction and a prescription-grade mirror measuring 20 inches wide by 4.5 inches tall to provide a 140-degree viewing range. Here’s how to add one.
Skill Level: 1 of 5
Finish Time: Approx. 1 hour
Tools and Supplies
- PTM Edge VX-140 center-console mirror
- VX-140 2-inch spacer, if needed, to lower mirror ($120.86; ptmwatersports.com)
- Marking pen
- Power drill and bits
- Allen wrench set
- Box/open-end wrench set
Mounting Choices
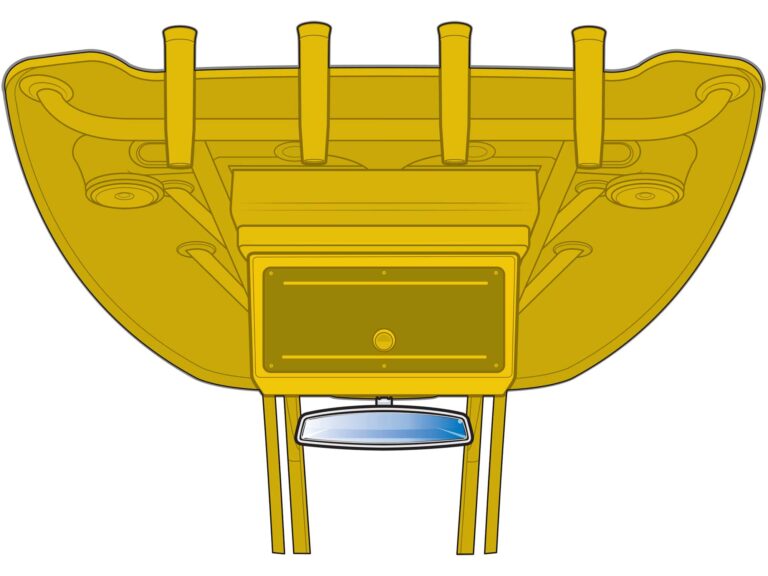
Like a car’s rearview mirror, the VX-140 center-console mirror is designed for mounting overhead and slightly forward to prevent obstruction of forward visibility. PTM offers two mounting choices—a 1.315-inch tube mount (for the pipework of a T-top above the helm) and a flat-surface mount (for a location such as the underside of an overhead electronics box). Choose which works best for your boat, and then purchase the appropriate version of the VX-140. You can also choose either powder-coated white or black for the housing and bracket to best match your boat’s decor.
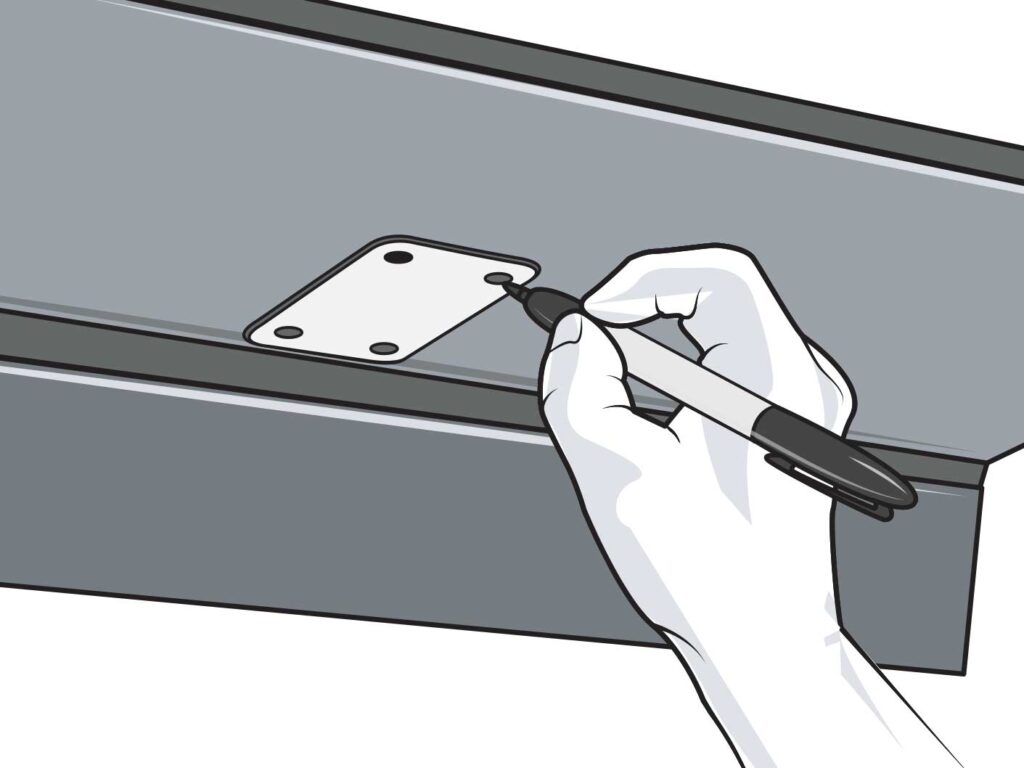
Mark the Mounting Holes
With a surface-mounted mirror, choose an overhead spot that works best for you while at the wheel. This will vary by boat, but a common location is along the centerline of the underside of an overhead electronics box. Ensure it’s far enough forward that you don’t risk banging your head, while also offering a clear view astern. Check for clearance to drill through and install the four mounting bolts. Use the supplied backing plate (with the longest dimension of the plate aligned fore and aft) as a template to mark the four holes, then drill them out with a power drill and a 5/16-inch bit.
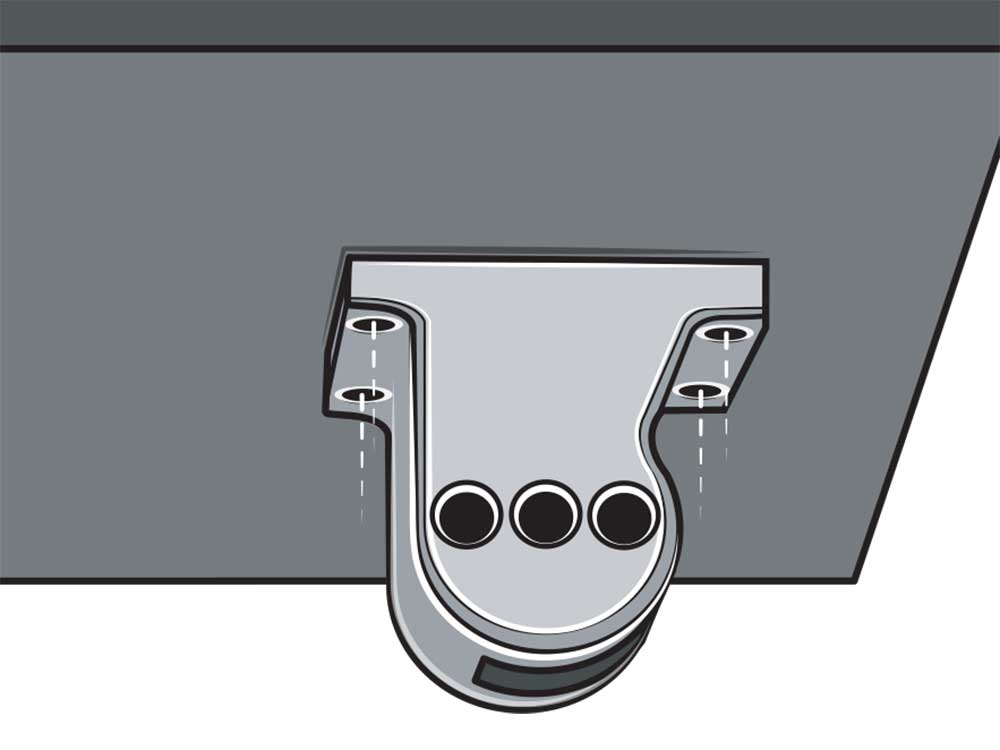
Install the Bracket
The surface-mounted bracket for the VX-140 rearview mirror is easier to install if you detach it from the mirror itself. Use an Allen wrench to remove the three retaining bolts and pressure plates. Have a buddy help you at this point. Apply the supplied peel-and-stick gasket to the mating surface of the mounting bracket. Align the bracket with the four mounting holes on the underside of the electronics box, and place the backing plate inside the electronics box. Then use the supplied 1/4-inch stainless-steel hardware to secure the bracket. Tighten the hardware.

Reassemble the Mirror
With the bracket secured, reassemble the mirror to the mounting bracket using the three Allen bolts and pressure plates that you removed earlier. Again, have a buddy hold the mirror in place so that it does not fall and become damaged while lining up and threading the bolts. Before completely tightening the bolts, make sure the mirror is well-positioned to provide you with the best possible view astern. This is accomplished by getting the bolts semi-tight so that you can still move the mirror up and down. Once the mirror angle is right, tighten the bolts all the way.
Read Next: Choosing a Wake-Sports Mirror
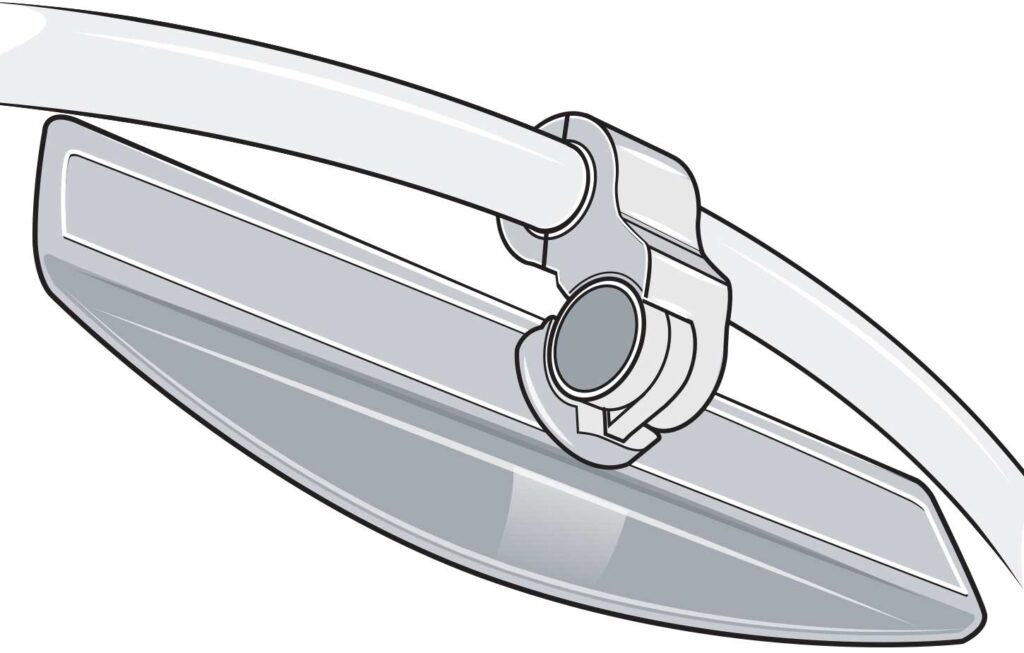
Install the Tube Mount
With the tube-mounted version of the PTM Edge VX-140 center-console blade mirror, there’s no drilling necessary. Position the clamp in the center of the T-top pipe running horizontally above the helm area. The clamp offers the ability to rotate the mirror so that you can position it forward or aft slightly to accommodate the helmsman and your particular center-console boat. Once you’re satisfied, tighten the bolts for the clamp. Slightly loosen the three bolts on the pressure plates behind the mirror to adjust the viewing angle to your liking, then retighten them.