The first spreaders—aka marine floodlights—that I installed on my boat 30 years ago were ITT Jabsco Ray-Line 50-watt 12-volt Halogens. Like most spreaders, they mounted overhead at the back and front of the hardtop and shone down on the deck. They provided plenty of light, but they were relatively large, would grow hot and drew 4 amps, so you didn’t want to leave them on too long with the engine off.
Since then, marine lighting has undergone a revolution for the better, thanks to light emitting diode technology, which allows for more-compact fixtures, provides more lumens, creates less heat, and consumes less power than comparable incandescent lights. On top of that, LEDs offer a substantially longer service life than do incandescent bulbs.
That makes the LED variety of spreaders attractive to boaters looking to upgrade their onboard lighting. LED spreaders are available from a number of brands, including Lumishore, Lumitech, Scandvik, Seavolt and others.
For this retrofit, we chose Lumishore’s Eclipse 4-inch bracket-mounted 30-watt floodlight, which pumps out 1,500 fixture lumens of white light and draws a scant 1.7 amps at 12 volts. It features a powder-coated aluminum body, three LED elements, a frosted lens, and an IP68 waterproof rating. The 70- to 90-degree beam creates broad, even light coverage.
Before you get started, be certain that the electrical power is off during the installation. Here’s how to proceed with this project.
Skill Level: 2 of 5
Finish Time: Approx. 3 hours without running new wires
Tools and Supplies
- Lumishore Eclipse 4-inch LED bracket-mounted floodlight ($198.99; westmarine.com)
- Crimp-on butt connectors with heat-shrink collars
- Diagonal cutter, wire strippers, crimping tool
- Power drill and metric bits
- Countersink bit
- Box/open-end wrench set
- Torque wrench
- Rubber grommets
- Cable gland
- Phillips screwdriver
- Marine sealant
- Heat gun
- Shop rags (to wipe away excess sealant)
Check the Wiring
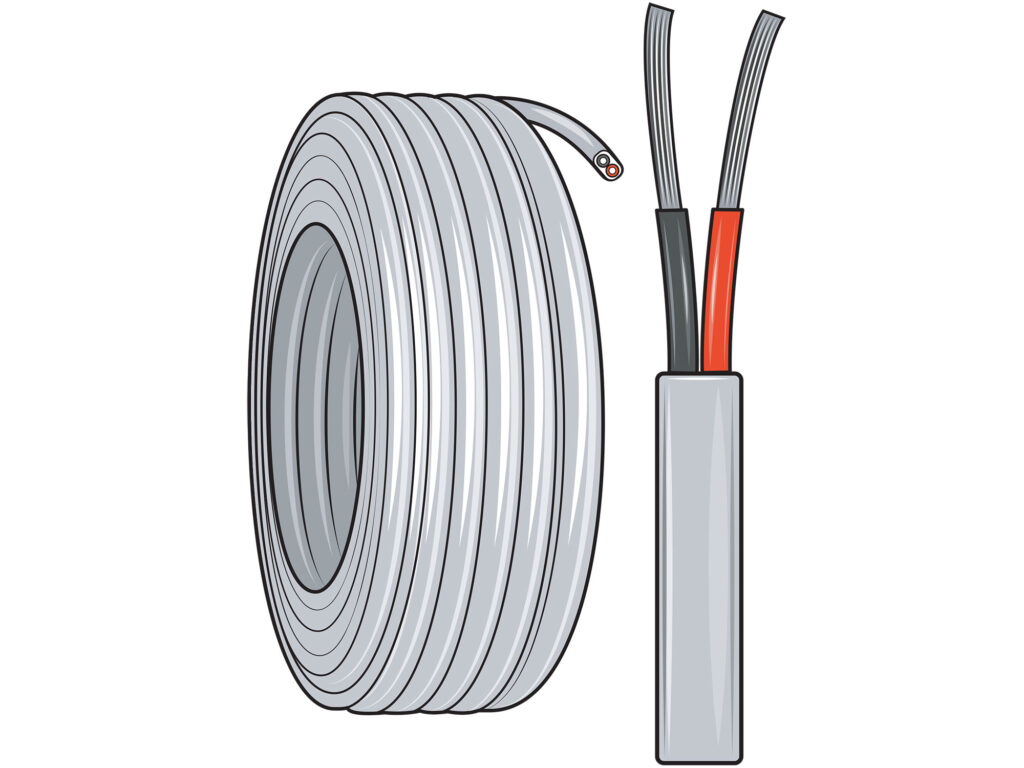
This retrofit is relatively easy if you can use the same wiring as you did with the old lights. However, inspect the existing wiring and connectors to ensure that there’s no corrosion damage or chafed or broken insulation. Also make sure the wire is of sufficient gauge. If needed, run new American Boat & Yacht Council-approved wiring. Each Lumishore Eclipse spreader circuit requires two wires—a red positive and a black negative—a fuse and a simple on/off switch. To determine the correct gauge-wire and fuse size, visit the Blue Sea System circuit wizard at circuitwizard.bluesea.com.
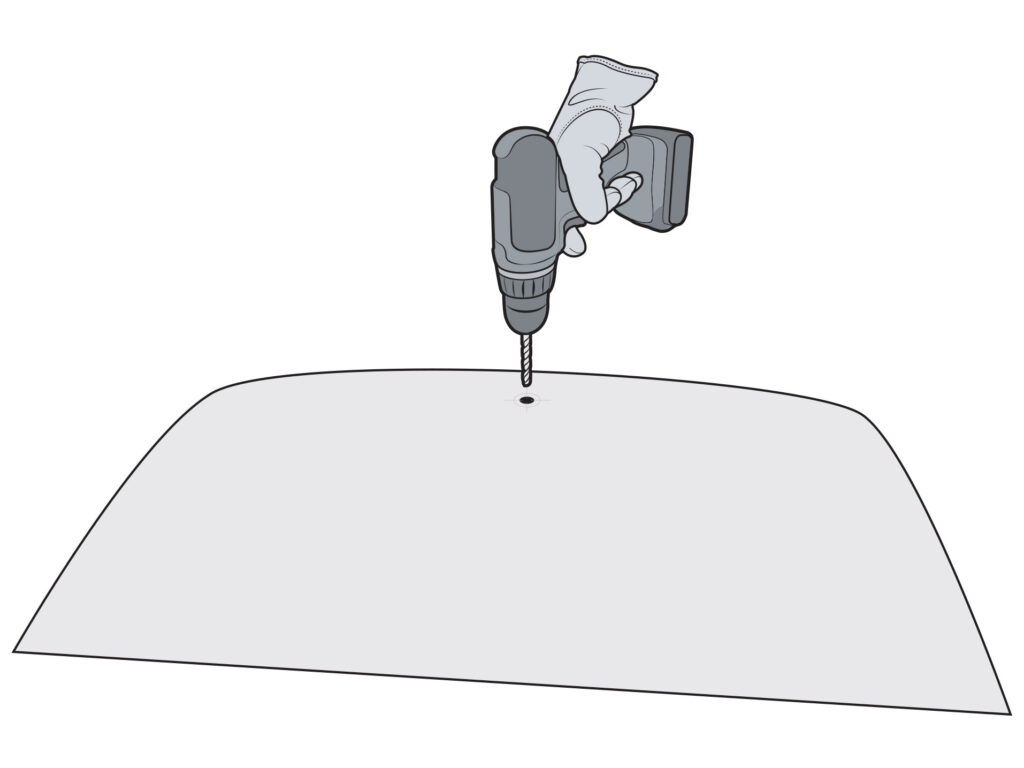
Mounting Hole
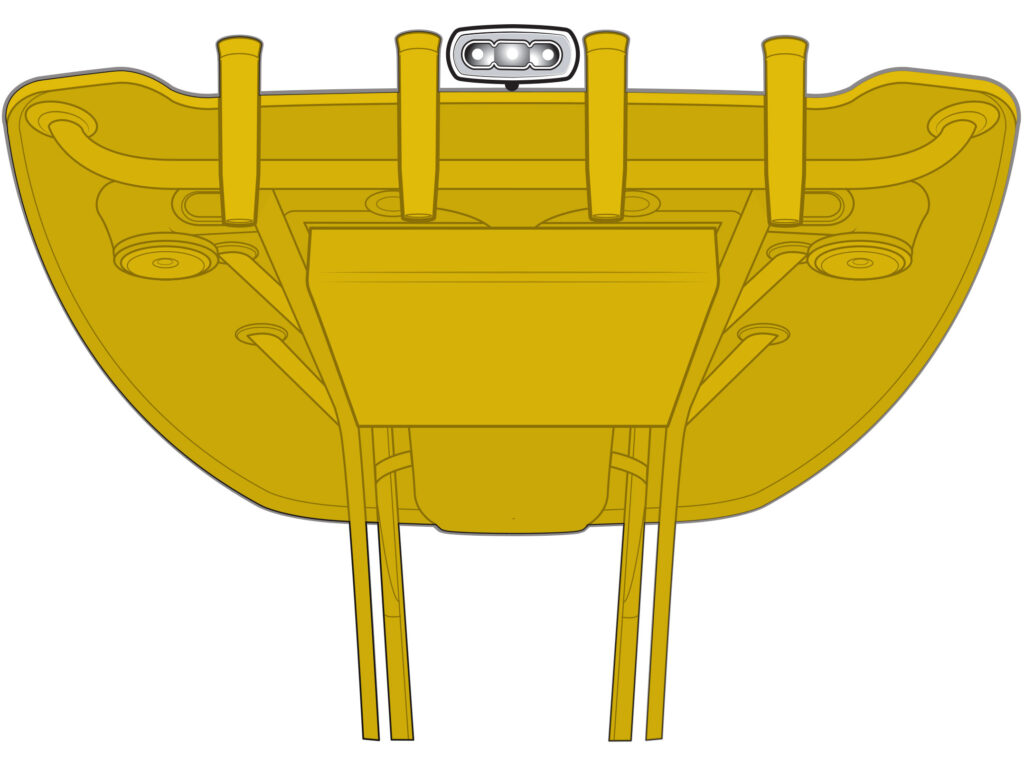
You might find that the existing mounting hole from the previous light bracket is the same as the single 6.5 mm hole needed for the Lumishore stainless-steel bracket. If not, drill a new hole, or enlarge an existing hole to 6.5 mm in diameter. For a new installation, select a mounting location that is flat and thick enough for through-bolting the bracket. This could be the edge of a roof of a solid fiberglass hardtop that is at least 1/4-inch in thickness or a vertical or horizontal metal tab that is welded in place on the upper part of the pipework for the top, put there specifically for adding overhead spreaders.
Install the Bracket
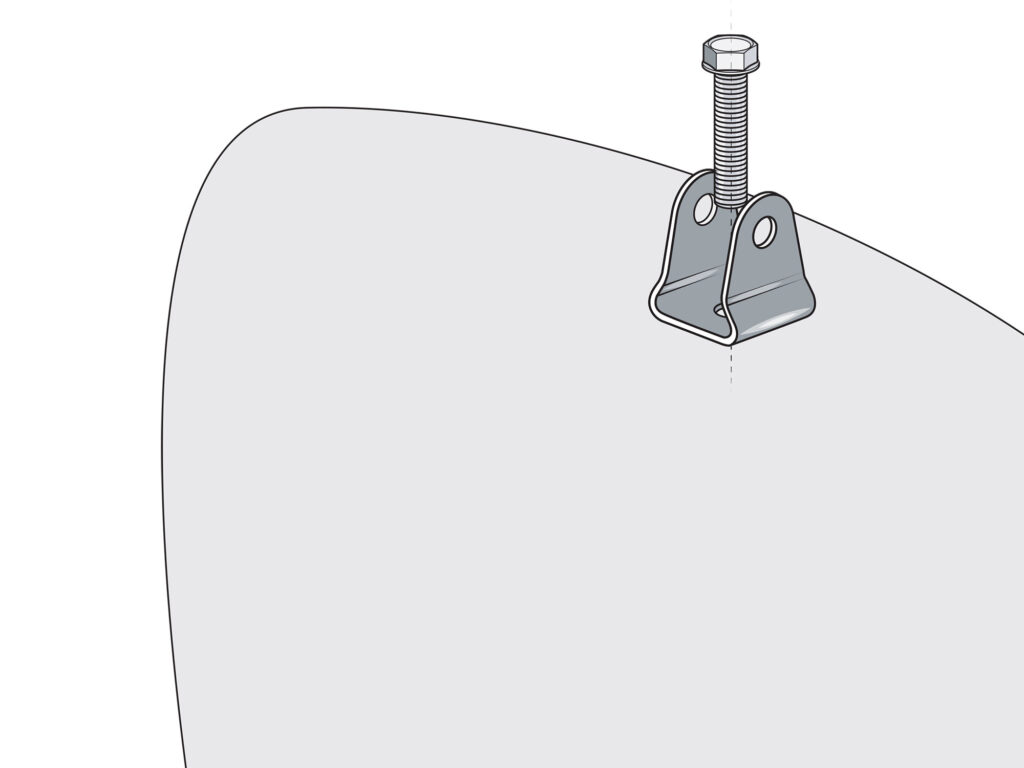
Fix the bracket in the alignment you need for the spreader to shine down onto the deck area. Insert the supplied M6 bolt through the bracket, then insert the M6 bolt through the hole in the mounting surface. The hardware kit includes a nylon locking nut and a washer to put behind the nut. If installing on a fiberglass top, bed the hardware with marine sealant. This step will help prevent cracking, crazing and water seepage. Secure the bracket with the supplied M6 nylon locking nut, and tighten. Louvres in the bracket help keep the bolt head from spinning while tightening the fastener.
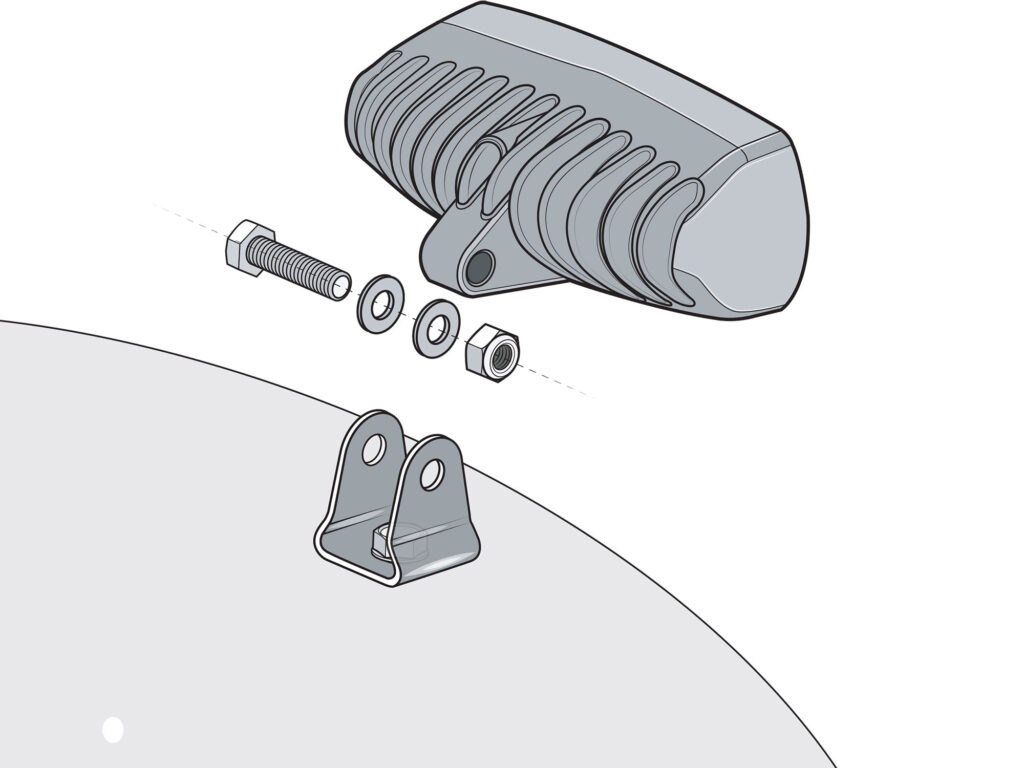
Mount the Spreader
Position the Lumishore Eclipse spreader light in the bracket so that the triplex wire is on the top side. Then mount the light to the installed bracket using the additional supplied M6 bolt, as well as the two nylon washers and nylon locking nut. Make sure the two nylon washers are placed inside the stainless-steel bracket, to protect the aluminum mounting surface on the back of the spreader light from suffering from electrolysis from two dissimilar metals coming in contact with each other. Tighten the stainless-steel hardware to a torque of 5 Nm. Do not overtighten.
Read Next: Guide to LED Pontoon Boat Lights
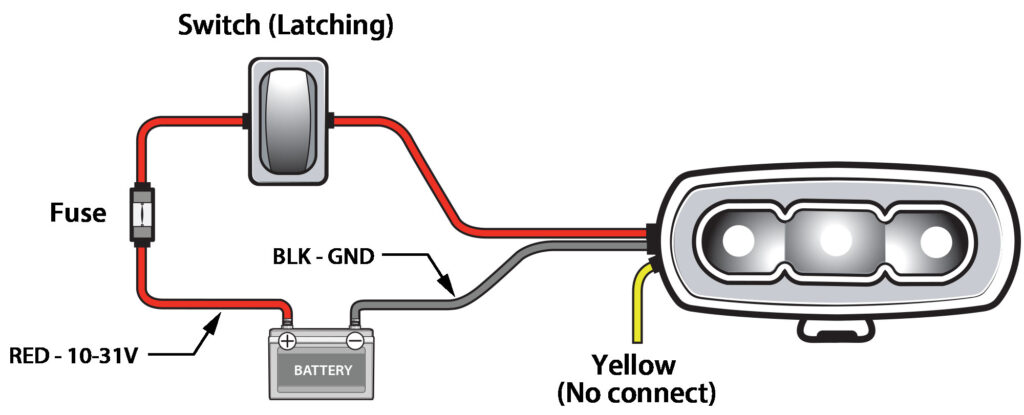
Connect the Wiring
The pigtail on the spreader terminates with red/positive and black/negative wires, as well as yellow wire. For this project, ignore the yellow wire. Polarity is important with LEDs, so ensure that the red wire connects to a positive 12-volt power source and the black wire is to ground. Use crimp butt connectors with heat-shrink collars to connect the pigtail wires to the wires you’ve run to the mounting location. The connectors should be shielded from spray to deter corrosion. I tucked them inside the hardtop pipework and used a rubber grommet to protect the wiring from chafing and to prevent water intrusion.