For this easy project, we chose a Tempress Model 44380, which is molded with reinforced plastic and holds four Plano 3700 boxes. It’s 7 inches deep and requires a cutout 8 5/8 inches high by 12 ½ inches wide. It has a gasketed frame and cam latch to help waterproof the interior.
If installing on sheet aluminum or fiberglass less than three-eighths inch thick, reinforce the area around the cutout with half-inch-thick marine plywood. Also, do not remove critical supports in the boat such as posts, ribs or framework that can lead to structural damage. Other companies offering such lockers include Boat Outfitters, SSI Custom Plastics, T-H Marine and West Marine.
Skill Level: 2/5
Time to Complete: 2.5 hours
Tools and Supplies
- Tempress tackle locker, Model 44380, with four Plano 3700 tackle boxes (tempress.com)
- Pettit Anchortech Advance Hybrid Waterproof Sealant from West Marine (westmarine.com)
- Tape measure
- Piece of stiff wire
- Carpenter’s square
- Marking pencil
- Jigsaw and blades
- Drill motor and drill bits
- Countersink bit
- 10 No. 12 stainless-steel machine screws, washers and locknuts
- 10 No. 12 stainless-steel self-tapping panhead screws (for blind bulkheads)
- Masking tape
- Paper towels (to wipe away excess sealant)
Quick Tip: For an eye-pleasing installation, align the top or bottom of the frame with an adjacent horizontal line. Avoid aligning the sides with adjacent vertical lines, which are frequently sloping. Paralleling them makes the face of the locker appear off-kilter.
1. Measure Carefully
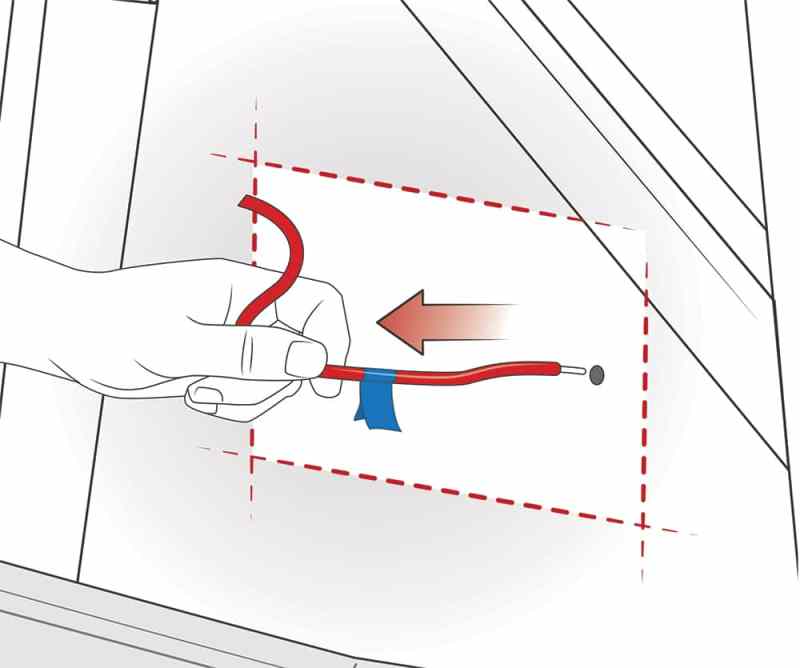
Choose a flat vertical surface such as the sides of a center-console or step-down. Measure the width, height and depth. To check the depth behind a blind bulkhead, remove a screw from an existing accessory and insert a stiff wire until it stops, and then measure how far it penetrated. Make sure there are no wires or hoses behind the surface. With the dimensions in hand, you can shop for a locker that fits.
2. Scribe the Cutout
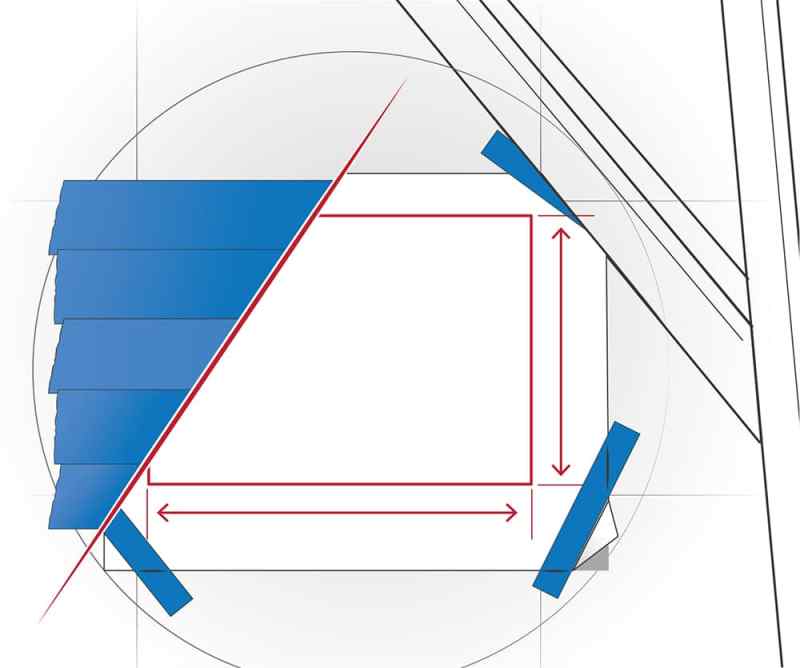
Mask off the entire area and tape down the supplied template, adjusting it until it’s squared up the way you like it. Check for interference (from items like rods in vertical rod holders) when the hatch swings open. Hinges at the bottom allow gravity to keep the hatch open while you access your tackle. Once you’re satisfied, trace around the outside edge of the template. Leave the template on for now.
3. Create the Cutout
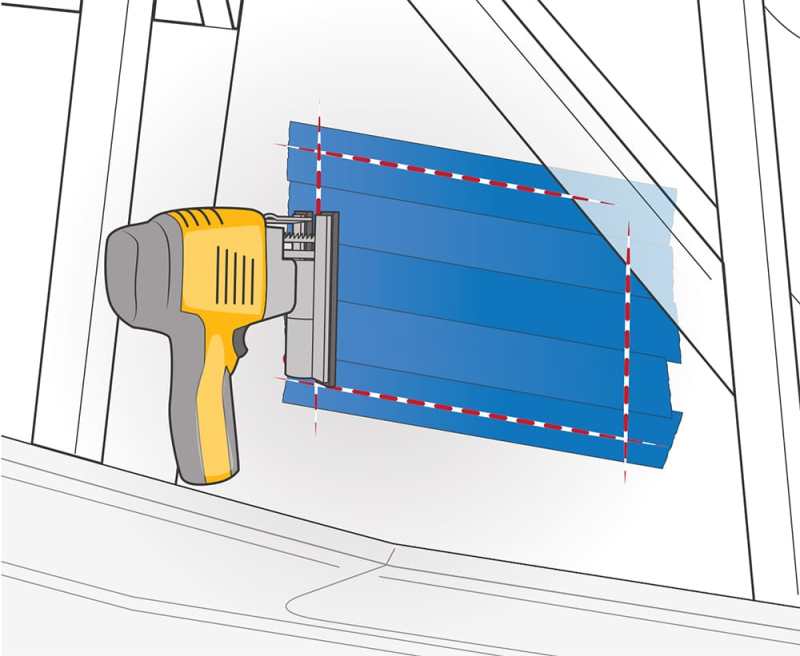
Drill an eighth-inch hole, then a half-inch hole where indicated in each corner of the template. Remove the template and use a jigsaw (with the proper blade for aluminum, fiberglass or wood) to cut along the traced line. Do not cut outside the line, because you want to leave plenty of surrounding material for the mounting holes. If the resulting cutout is a bit too tight, you can open it with a rasp or grinding wheel.
4. Drill Mounting Holes
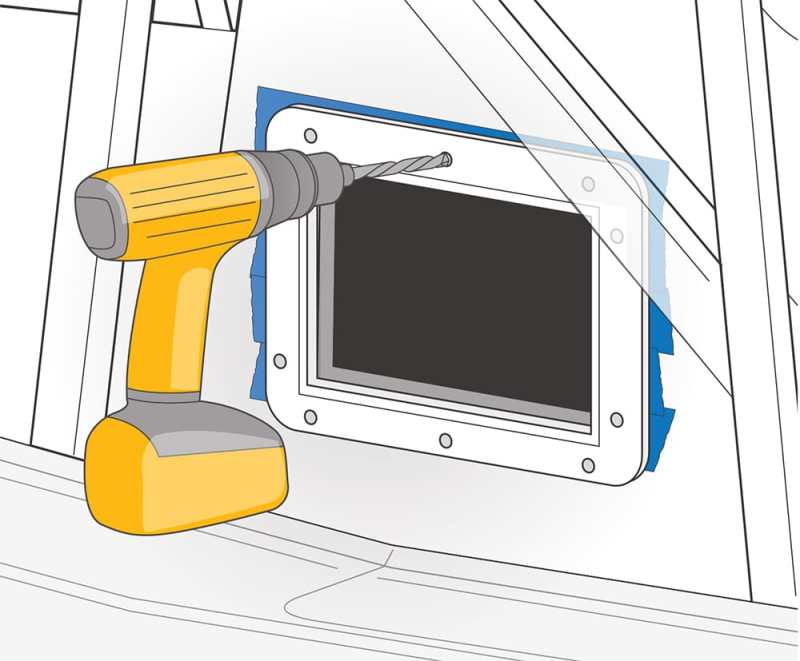
Slide in the locker and drill a hole (three-sixteenth inch for fiberglass) in an upper corner, and install a No. 12 panhead screw. Fine-tune the position of the frame. Drill a second hole in the opposing upper corner and install a screw. Drill the remaining holes using the frame as a template. Remove the locker and masking tape and slightly chamfer each of the holes with a countersink bit to prevent cracks.
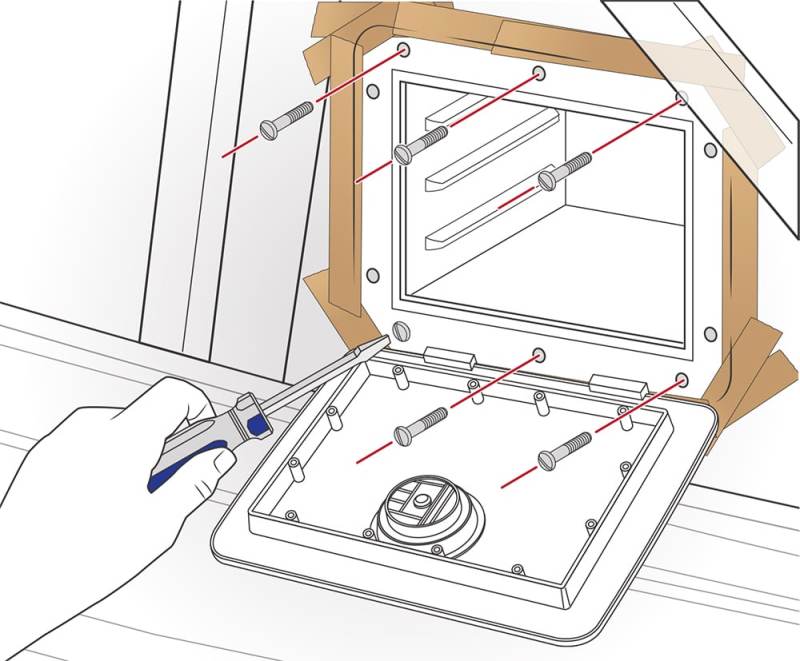
5. Install the Locker
Mask around the mounting surface. Bed the inside frame with silicone-based marine sealant. Slide in the locker (hinges down). Bolt in place with No. 12 stainless machine screws (length depends on depth of mounting surface) with backing washers and locknuts. On blind bulkheads, fasten with No. 12 self-tapping screws. Dab each in sealant. Remove tape; wipe away excess sealant (do not use solvents).


