I’m no wrench when it comes to the inner workings of outboard motors, so when I learned the PO of the 130 hp ETEC I had recently purchased had neglected to mention its close encounter with Lake Erie limestone and related gearcase damage, I feared the worst financially. After discussing the situation with my trusted marine mechanic, Bob, he offered me a welcome alternative to a dealer installed OEM replacement: an affordable aftermarket lower unit from Sterndrive Engineering Incorporated – better known as SEI Marine Products – which I could install myself. Bob offered me a workbench, supervision, help with the heavy lifting and modeling duties for photos, but after completing the DIY job I realized it didn’t require anything I couldn’t tackle in my own garage.
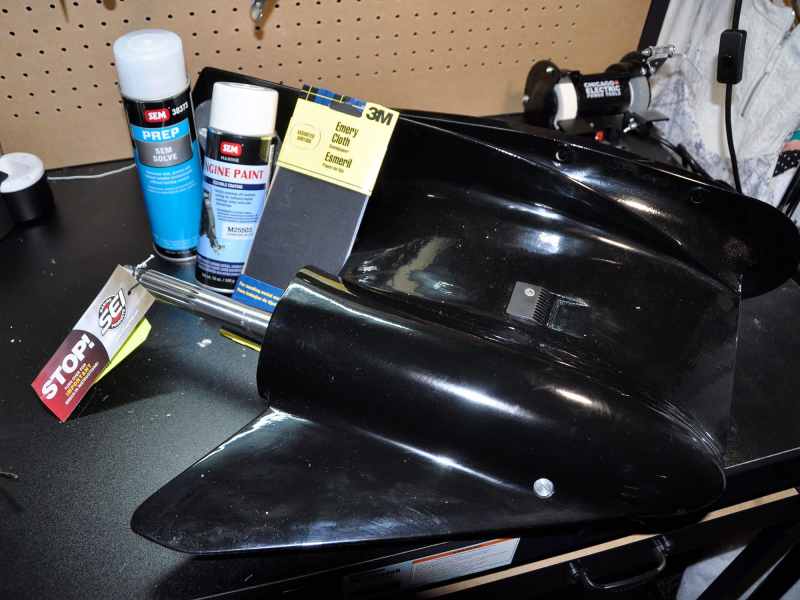
The SEI units arrive in basic black, and can be scuff sanded, primed, and painted to match the color of the outboard. We used SEM primer and Evinrude white enamel. My 2014 Evinrude required an SE300 Series gearcase at a cost of $895, which comes without an upper driveshaft to allow it to fit several outboard models. The water pump and shift rod also are not included and we used the originals from the ETEC’s old gear case.
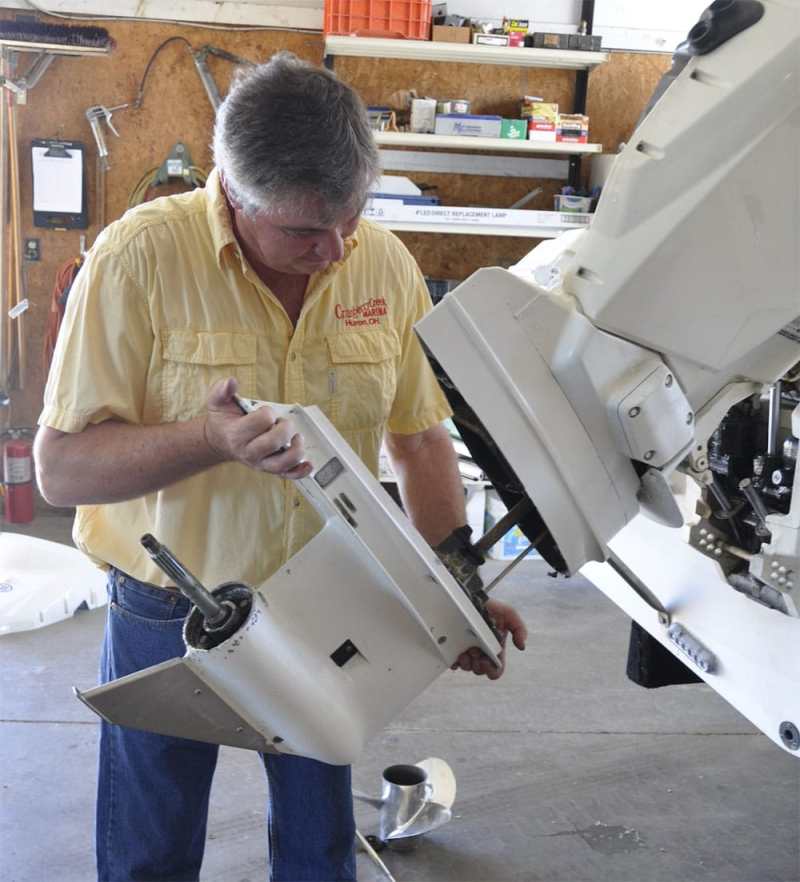
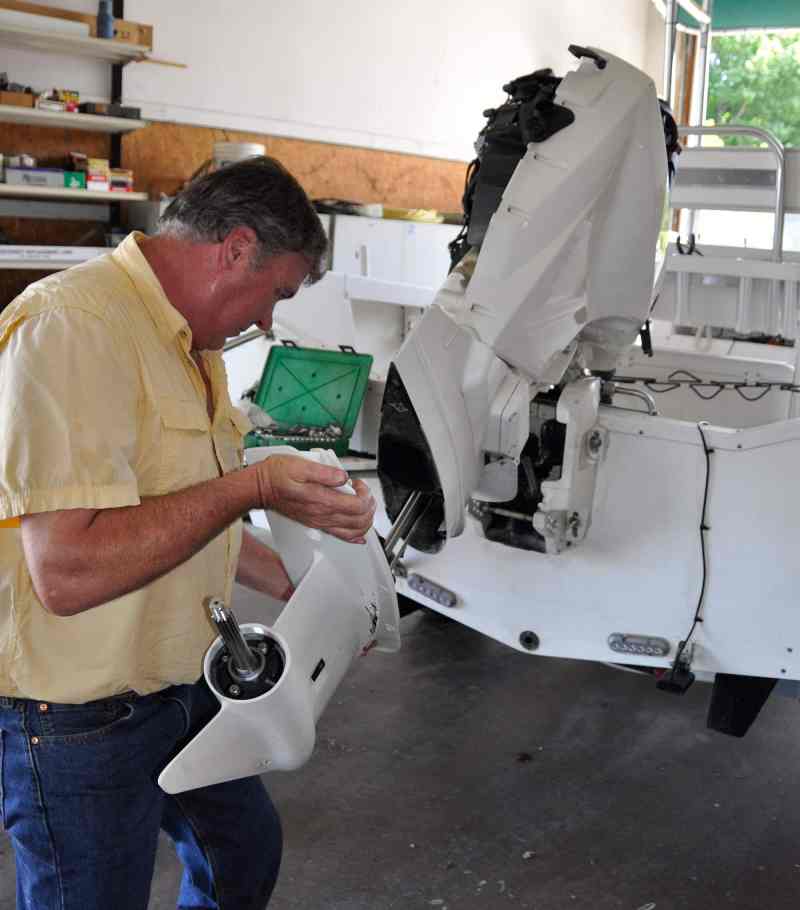
Remove prop and cowling, release shift rod and remove the damaged lower unit from the outboard’s mid-section and drain gear case lubricant. Before you unthread the shift rod; measure the height in neutral. You will need this when you reinstall later.
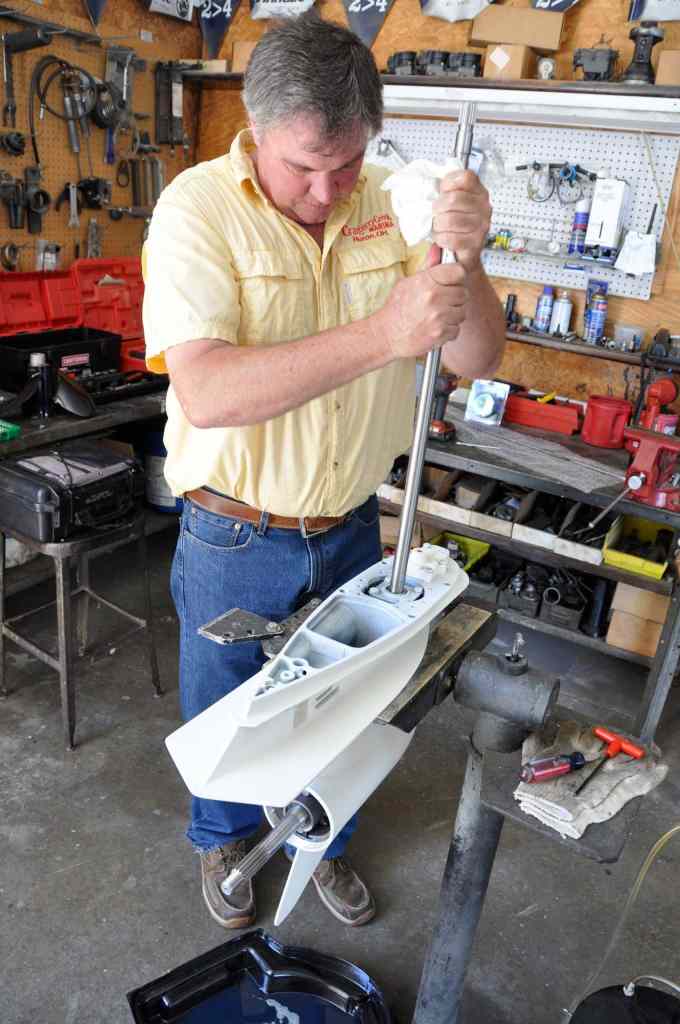
Remove the upper driveshaft, install it into the carrier on the SEI gear case and align the splines with the lower shaft until it engages fully into the retainer, followed by installing the shifter rod at the previous measured height.
Install base, top with the wear plate, and replace the drive key in the slot of the driveshaft using the supplied ‘O’ ring to keep it positioned. Lubricate and install water pump impeller.
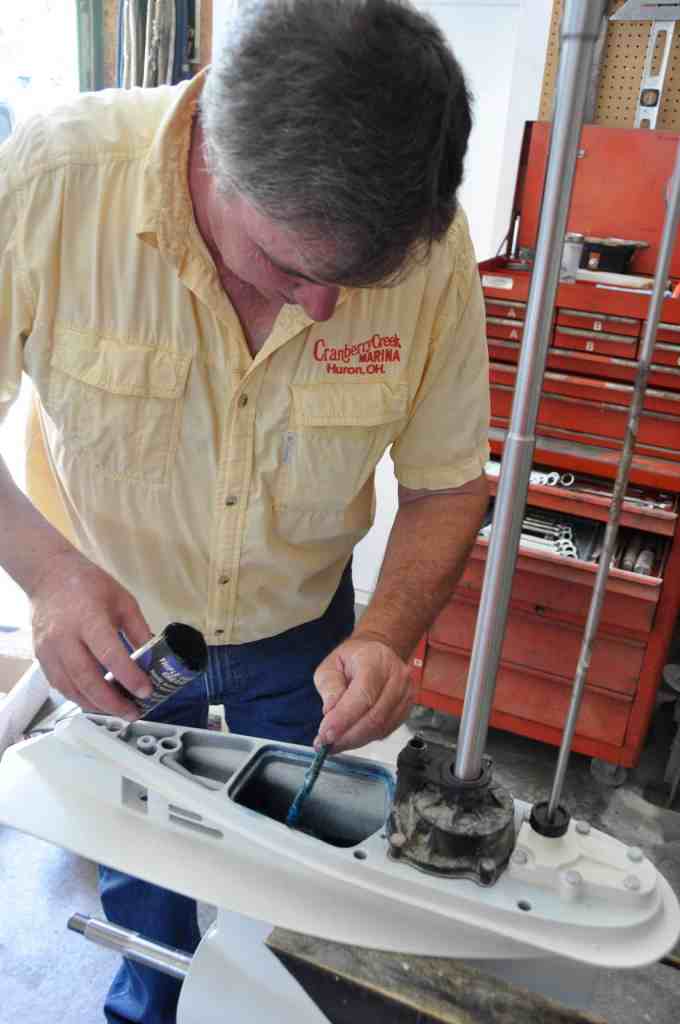
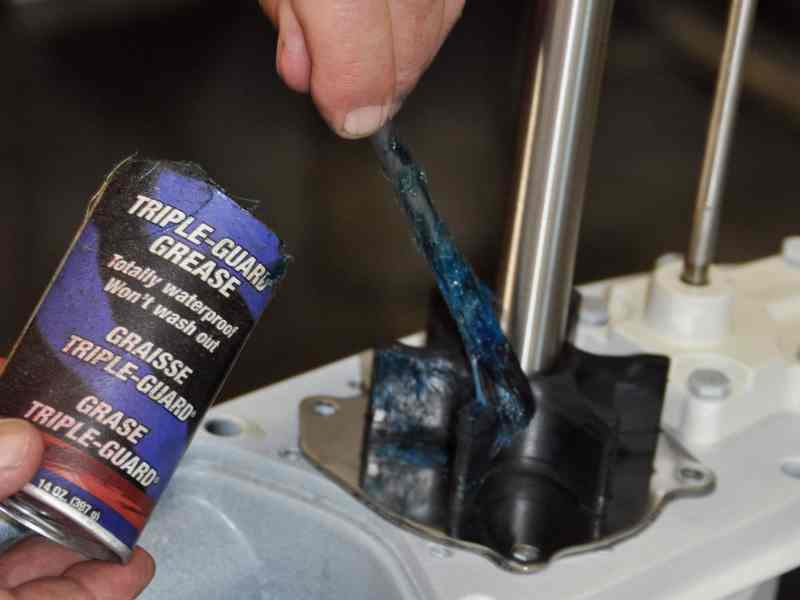
Slide the water pump housing into place and secure, lubricate the drive and shifter shafts and grease the exhaust gasket.
Slide the gear case into to mid-section of the outboard and secure with six 5/8” bolts and fill lower unit with gear case lube provided by SEI.
Read Next: More Repowering Tips
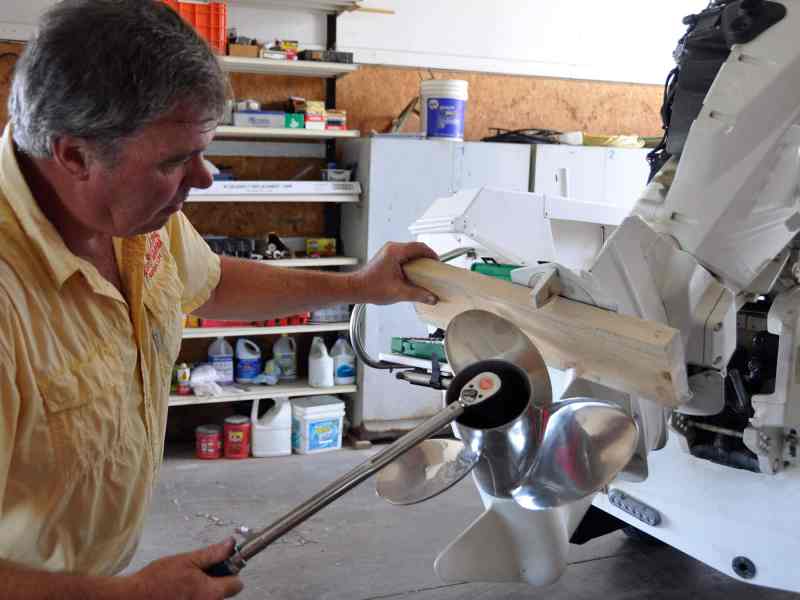
Install engine side cowling, trim tab, zinc anodes and prop with keeper torqued to no more than 80ft lbs and the installation is complete and the rig ready for a sea trial.


