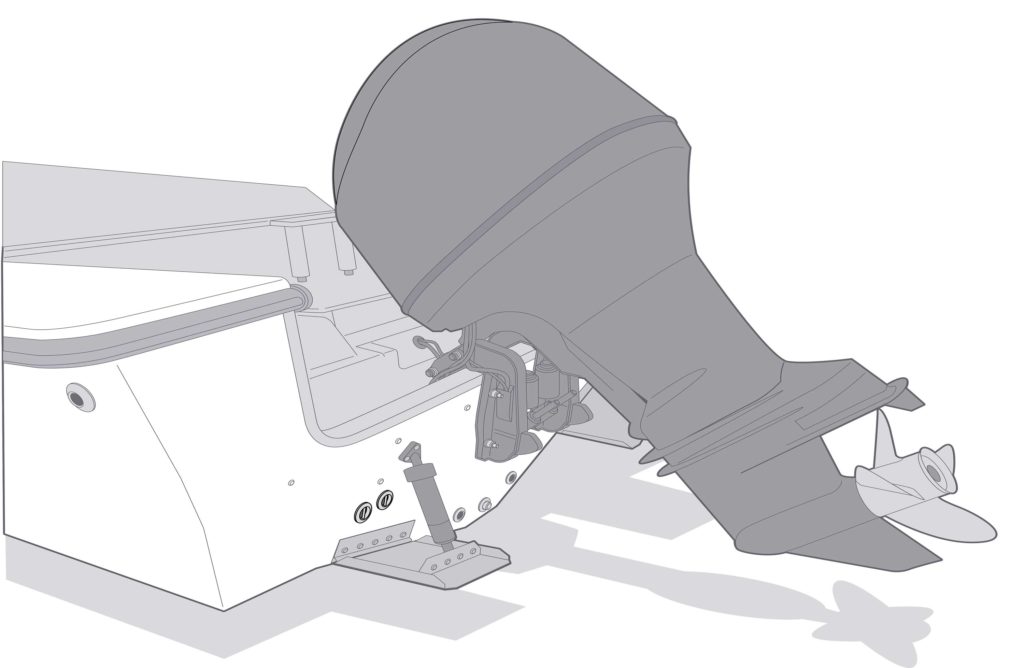
Many outboard-powered boats use brass tube fittings for the motorwell drains. When properly installed and flanged, the fittings function well, but as a boat ages, the relatively thin brass material can corrode, deteriorate and crack, creating an opportunity for water to seep into the transom core. Such was the case with my 21-foot outboard-powered center-console boat built in 1986.
After 35 years of boating in salt water, the flanged collars of the fittings had corroded away, and cracks had opened up along the inner walls of the tubes. When brown water began to drip out of the wood transom core from one of the four fittings, the decision to replace the brass fittings became easy.
Today, brass fittings are still in use, but now there are alternatives to flanged bass tubes for motorwell drains, including press-to-fit and threaded fittings, neither of which requires the use of a flanging tool to complete the job. Here’s how the process went.
Skill Level: 4 of 5
Finish Time: Approx. 2 hours per drain
Tools and Supplies
- Gemlux 73100 motorwell through-hull fitting ($24.68 each, gemlux.com)
- 1/2-inch-wide sharp chisel
- Dead-blow mallet
- Long-socket wrench set
- Tape measure
- Hole saws, 11/4- and 11/2-inch
- Power drill
- West System two-part epoxy resin (with mixing cup and brush)
- 3M 4200 marine sealant
- Masking tape
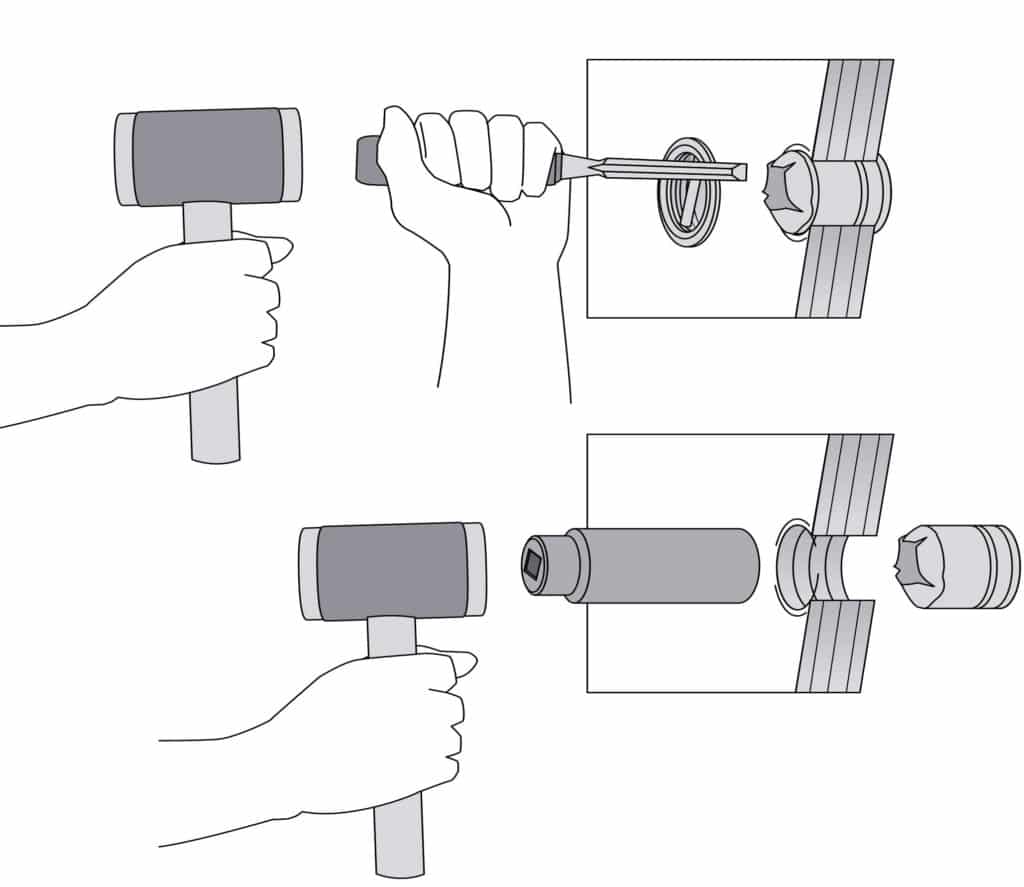
Carefully working from the outside of the transom, use a sharp 1/2-inch chisel and a dead-blow mallet to crush the brass fitting inward until much of the tube is forced inside the drain hole. Then find a long socket wrench that matches the diameter of the drain hole. Place the socket in the hole from the outside and tap on it with the mallet enough to push the brass tube inward and out of the hole. You may need to stop and chisel away a bit more at the brass before continuing to tap the tube out.
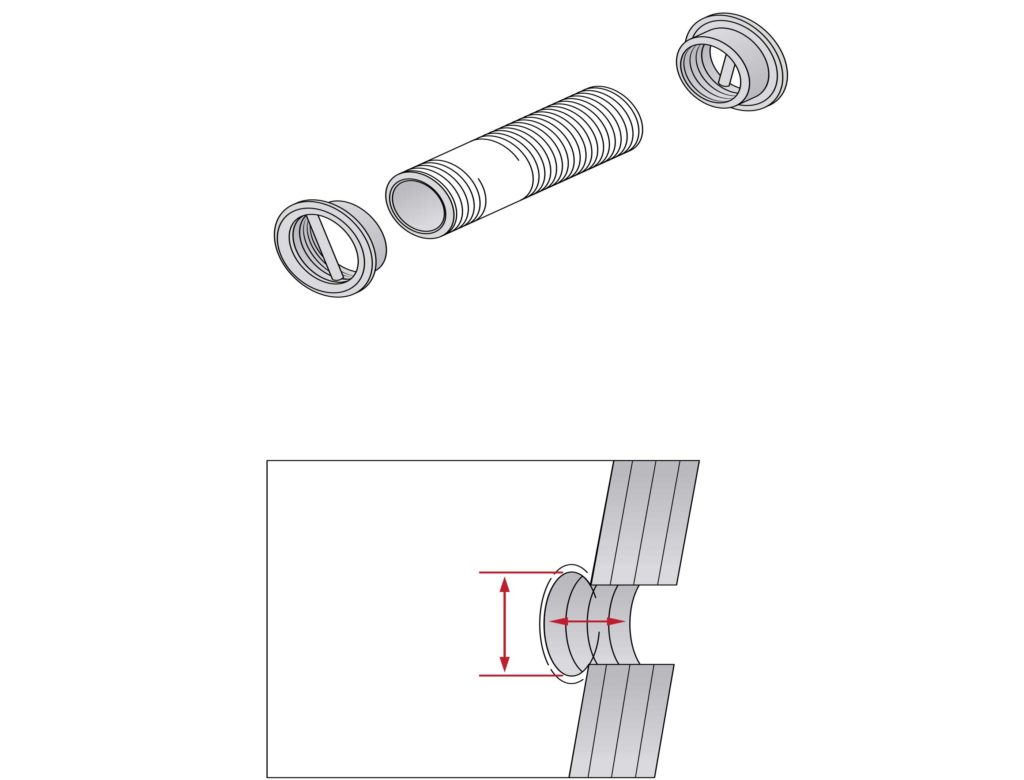
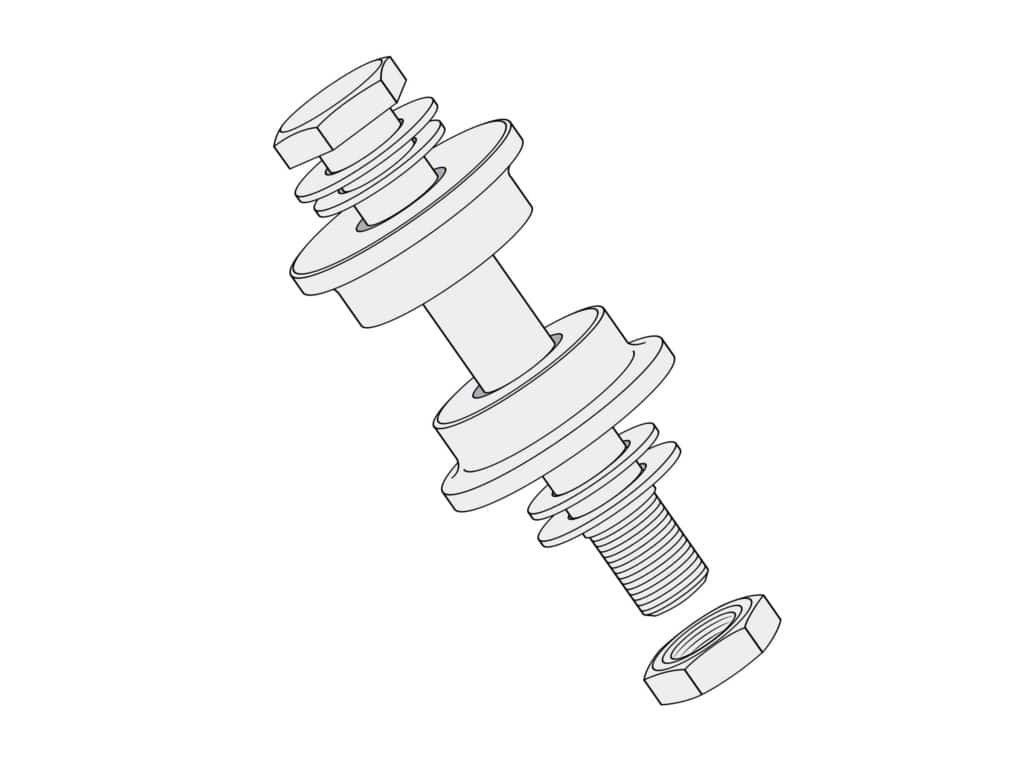
Measure the diameter and length of the hole to select the right replacement fitting. Two common outside diameters are 1 and 1 1/4 inches. When it comes to length, threaded or press-to-fit drains let you cut the tube to the right length. I chose the Gemlux 73100 motorwell through-hull fitting with a 5-inch-long, 1 1/4-inch OD cut-to-fit threaded nylon tube and two stainless-steel finishing pieces that spin onto each end. Crossbars keep the fitting clear of trash that might clog the drains.
Tip: If you’d prefer to avoid enlarging the drain holes, plastic press-to-fit fixtures such as the Splash Well Drain Tubes from T-H Marine fit without opening the hole any larger, and are available in black, white and chrome-plated finishes.
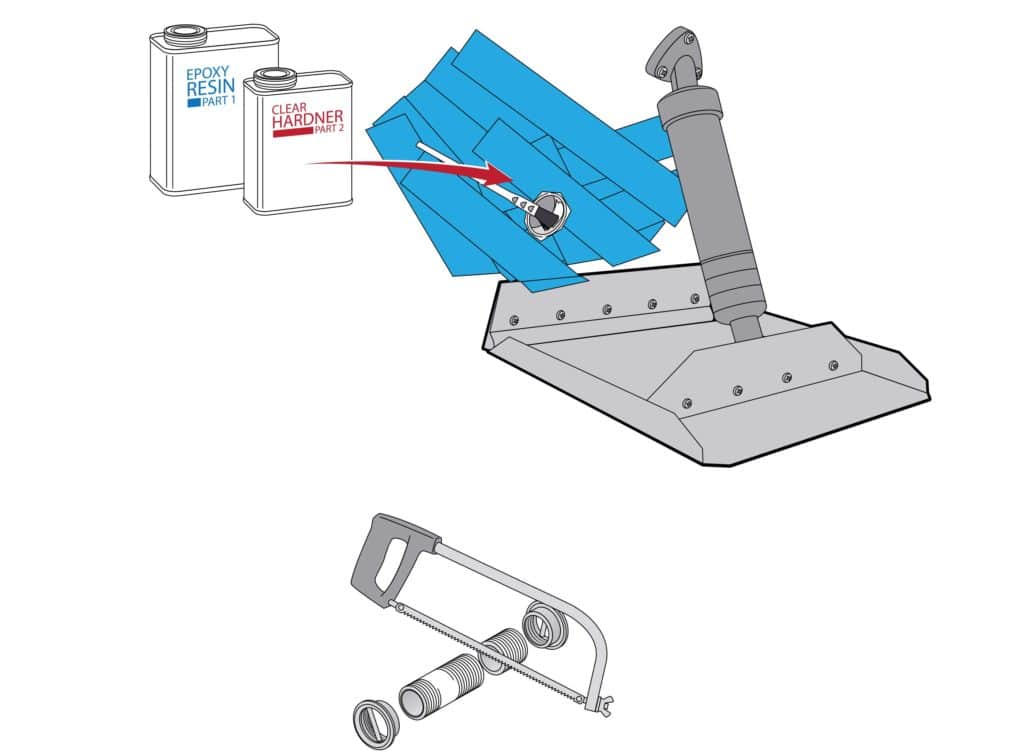
If water has seeped in, give the holes a week or more to dry out. Keep them protected from rain or other moisture. Once dried, I reamed out the holes to a 1 1/2-inch diameter. You can use a grinder to ream out the hole, but do so in a symmetrical and straight manner so as not to oversize the hole or change the angle. Seal the wood with West System epoxy. In this case, the extra diameter also accommodated the stainless-steel flange pieces, of which each requires an additional 1/4 inch of diameter to seat properly.
Tip: To quickly bore out the hole, use the saw-in-a-saw trick. Attach a 1 1/2-inch hole saw to a hole-saw chuck. Inside of that saw, spin on a 1 1/4-inch hole saw to serve as the guide. It will cut straight and true.
As indicated in step 2, cut the threaded nylon tube to the length needed for your boat. Cut the tube with a hacksaw, then dry-fit by threading on the stainless-steel fitting to ensure both flanges seat snugly against the transom on each side. If not, remove the drain fixture and cut off a thread or two, then dry-fit again. Continue until you achieve a snug fit for each drain fitting. Mark each one as you progress to remember which drain fits which hole because the transom might vary slightly in width for each hole.
Read Next: Installing a Seacock
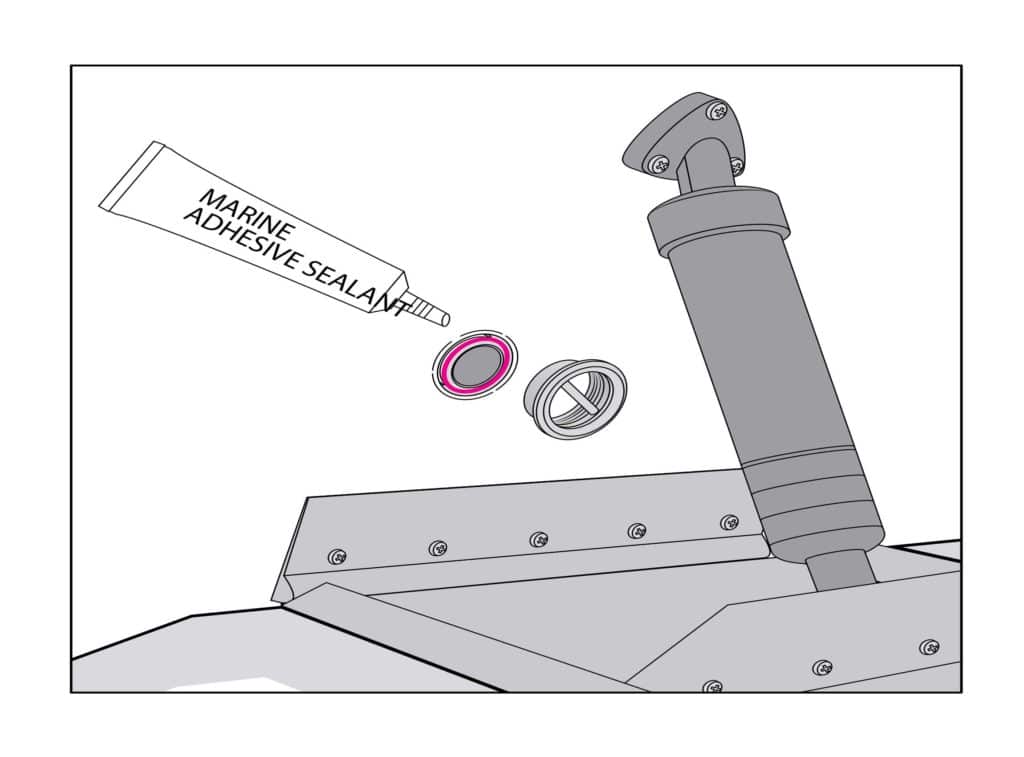
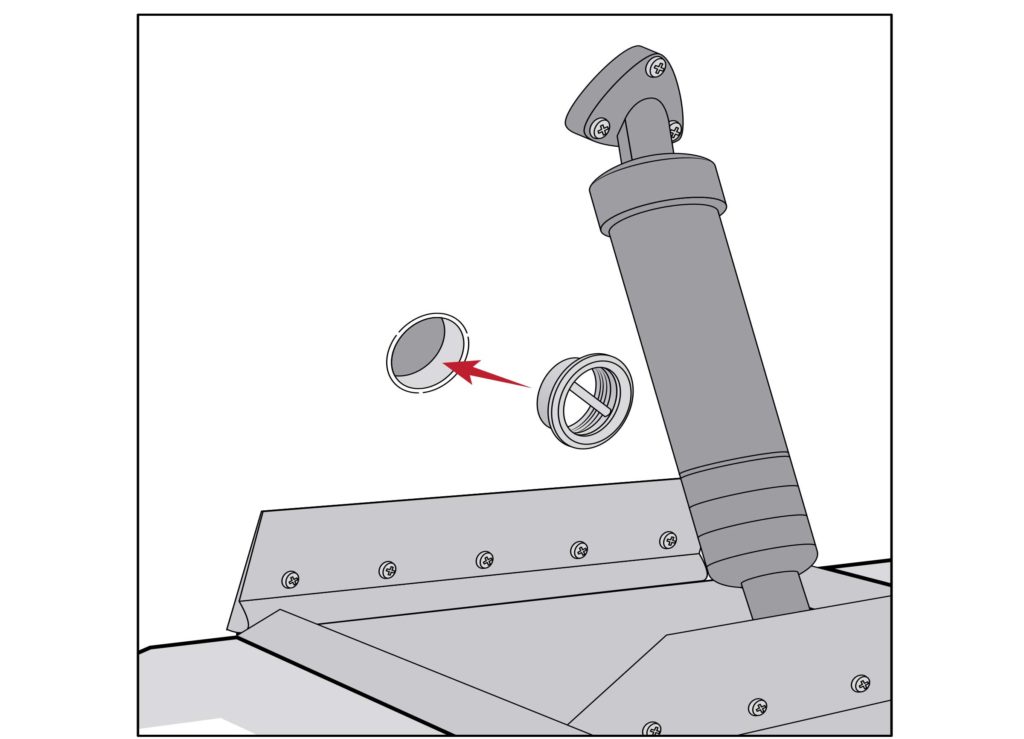
Tightly thread on one of the flanges to the tube, then generously bed the outside of the hole and seat of the flange with a marine sealant such as 3M 4200. Insert the tube into the hole. Apply sealant to the seat of the second flange and thread it on to the other end of the tube. Use the crossbars to snug up the fitting so the flanges are tight against the inner and outer transom surfaces with the crossbars aligned in the manner you prefer (either vertical or horizontal). Wipe away any excess sealant.
Tip: To tighten the fittings, I created a simple tool by cutting a notch in a 3/4-inch-wide by 1/4-inch-tall by 5-inch-long piece of hardwood. This let me grip the crossbars to turn the flange. An old hose clamp prevented the wood from splitting as I torqued the fittings.
If you’d prefer to stick with brass tubes for your motorwell drains, you will need a flanging tool to create the proper fit. The Moeller 1 1/4-inch drain-tube flanging tool ($41.69, amazon.com) lets you flare the end of a 1 1/4-inch OD brass tube by using two wrenches to gradually tighten the nuts on each end. The brass tube needs to be 1/4 inch longer than the transom on the end to be flared. To learn more, visit moellermarine.com/product-category/marine-accessories.