When one drills or cuts a hole into a cored boat hull or deck, the basic procedure is that one must seal the fitting being installed and seal the core. Just sealing the fitting is not enough. If one fails to so this, water will likely migrate past the fixture sealant as it ages and the boat structure moves. Once that happens, the core becomes mushy and the structure becomes compromised.
Learn More About Cored Hulls Here
Learn Even More About Cored Hulls Here
Personally, I like to, “paint,” any exposed core with epoxy resin. I will apply it wet on wet until the core will take up no more. Then let it cure. Then I am ready to install and bed my fixture ( transducer, deck hatch, whatever…) in sealant.
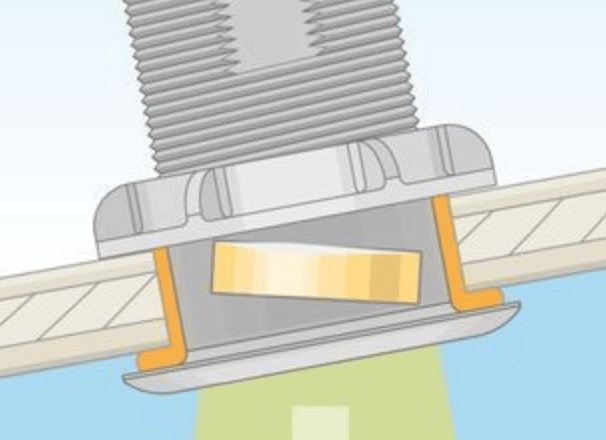
Now, if there is any crushing load to be exerted, as in the fasteners for seat pedestals or the bolting of a T-top or outriggers to the side of a console, here is a basic procedure for installing such load-bearing through fasteners in cored hulls or decks. Foam core especially, may crush when you torque down the nuts unless you proceed as follows and create a compression ring * 1. After cutting the hole for the fitting or fastener, you will need to seal the now-exposed core material between the hull’s inner and outer skins. As stated, I prefer epoxy resin for this purpose. But, if the fasteners will exert any crushing force, proceed with the following steps.
Excavate the core material between the skins out a distance beyond that of the footprint of the flange or lip of the item being fastened.
Fill the cavity created with epoxy resin mixed with Cab-O-Sil (silica) filler to create a “compression ring.” BoatLife makes empty caulking cartridges. These cost a few bucks. (jamestowndistributors.com). Get them at better hardware stores and marine suppliers and fill them with your thickened goo-glue to shoot it into the crevice with a caulking gun. This ensures there’s no weakness where you’ve breached the core and also ensures water doesn’t enter the core material.
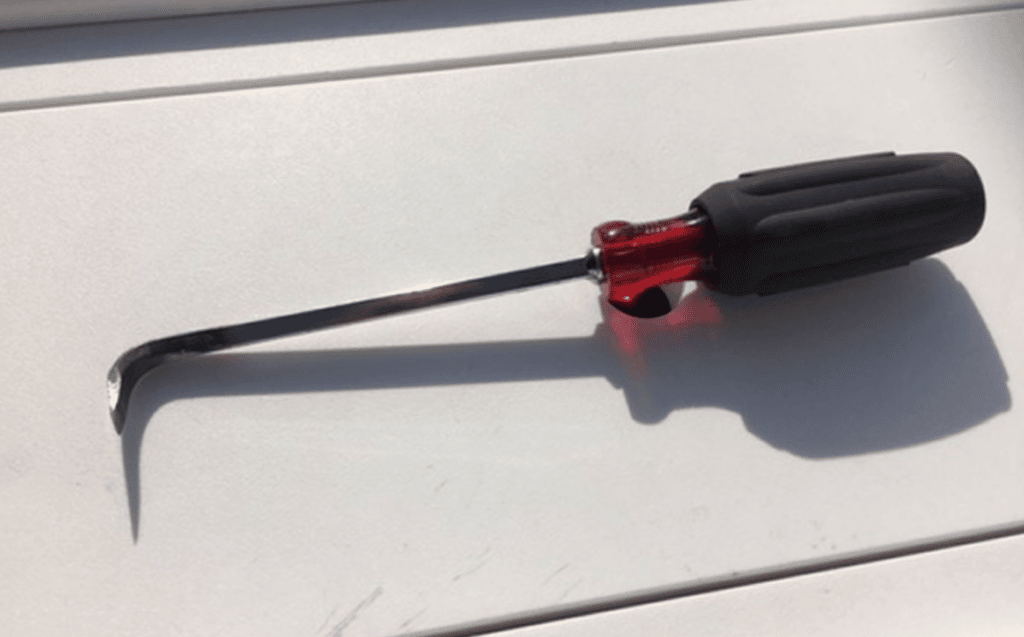
AdvertisementYou can use a router, or a specialty tool like a Dremel or Fein MultiMaster (themultimastersystem.com/index.jsp), to ream out the core material and create an epoxy compression ring. Or, make a reamer by chucking the long leg of a hex wrench into a drill, using the short leg to excavate the core. A manual reamer can be made by heating an old file with a torch and bending its tang in a vice to form a right angle.